Page 1 of 3 123 LastLast
Results 1 to 20 of 45
  1. #1
    Member
    Join Date
    Feb 2005
    Location
    Spicewood
    Posts
    289

    Champion 181 Transom Replacement

    Some of you will remember that back in early February I discovered that the transom on my 1995 181 was wet, soft, and rotting. Here is the original thread: http://www.bbcboards.net/zerothread?id=638872

    After a lot of research and deliberation, I decided to go with the Arjay 6011 transom compound. The way that the transom is on my Champ, I could access the entire width of the transom without cutting out a mass section of the top cap. So, using a drill with a couple of 12" extensions and various drill bits, my chainsaw (yep, I used the chainsaw), and some homemade scraping tools, I was able to remove all of the old wood. I fitted my shop vac with a long piece of 3/4" pvc to allow me to reach the bottom of the transom and suck out all of the debris as it was loosened up. Fortunately the rot didn't go down past about the middle of the transom, so my knee braces and stringers were fine.

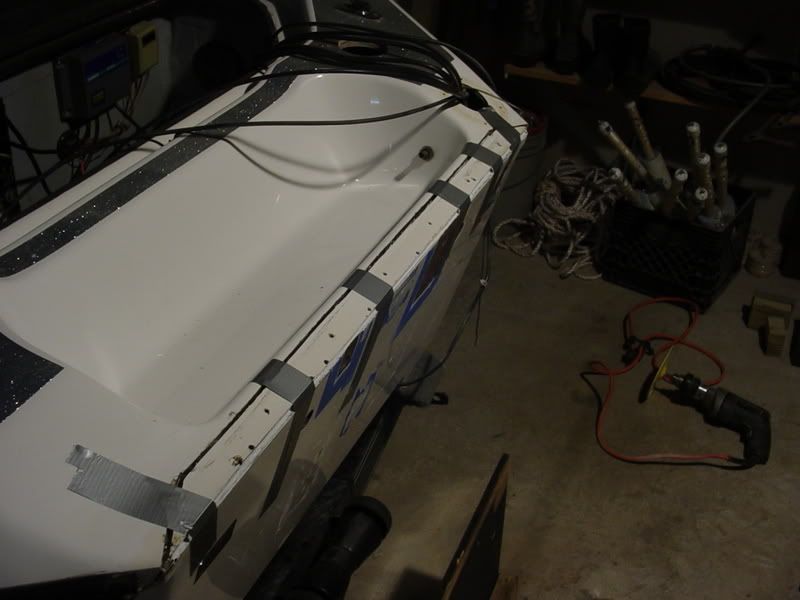
    After the wood was removed, I used a 1.5" drum sanding attachment on the drill to clean the inner and outer skins. The inner skin was very thin in places, so I layed up a couple of layers of glass mat and cloth to reinforce the inner skin, with some extra reinforcement where the bolt holes would go. (Sorry, I didn't take any pics of the inner skin glass work.) Next, I placed small pieces of glass mat on the inside of the transom to cover all of the bolt holes and splashwell drain holes that I could reach from the top. The lower bolt holes were just covered with commercial grade duct tape. Probably could've gotten away with just duct tape on all of the holes, but I didn't want any leakeage during the pour! With all of the prep work done, we were ready to pour.

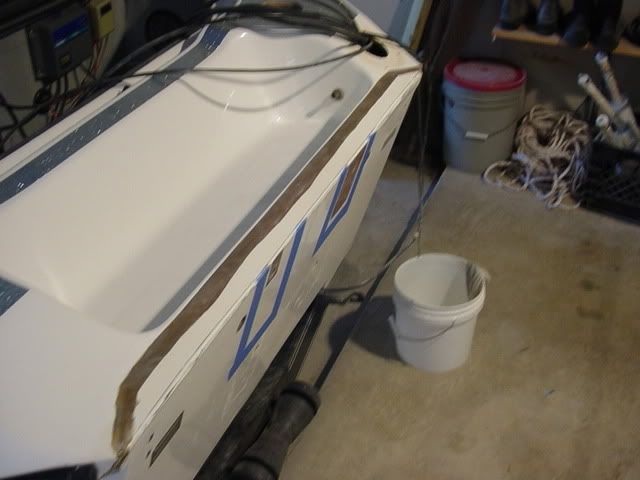
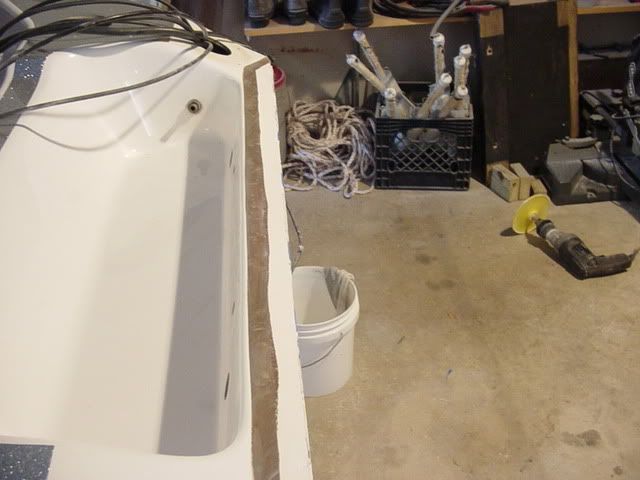
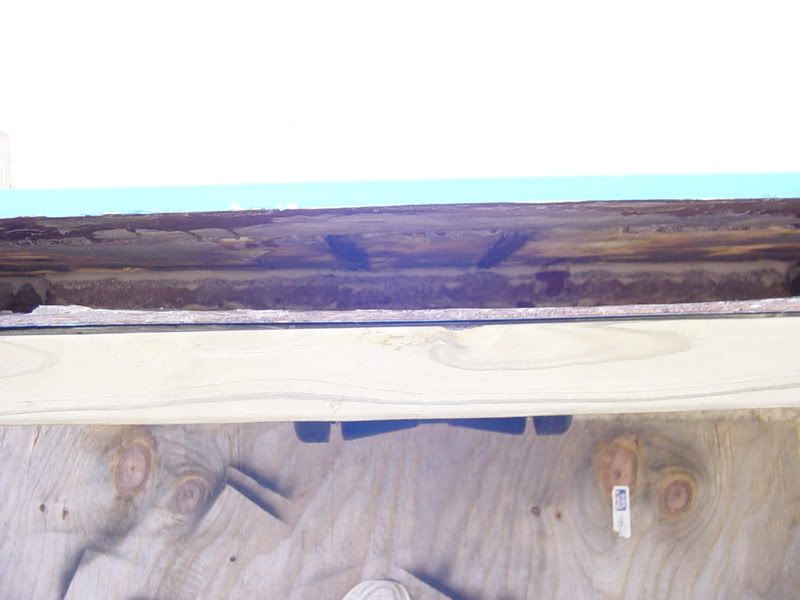
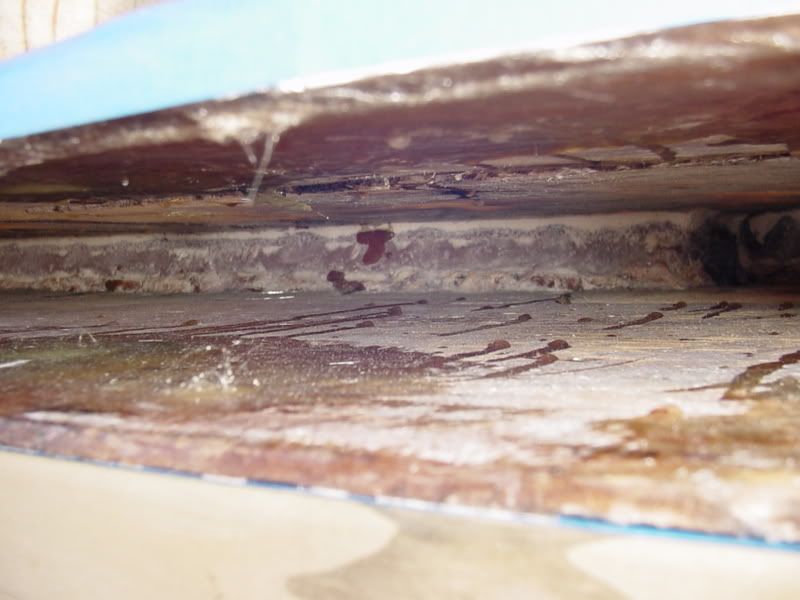
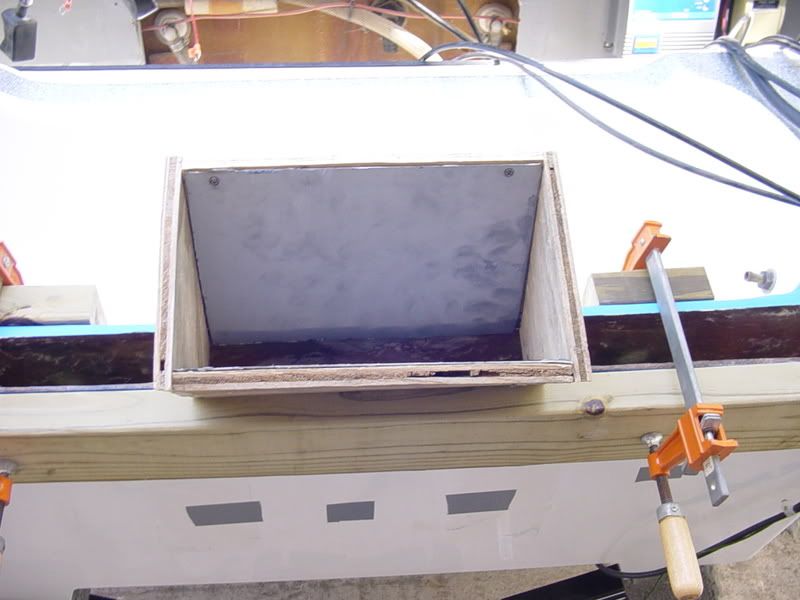
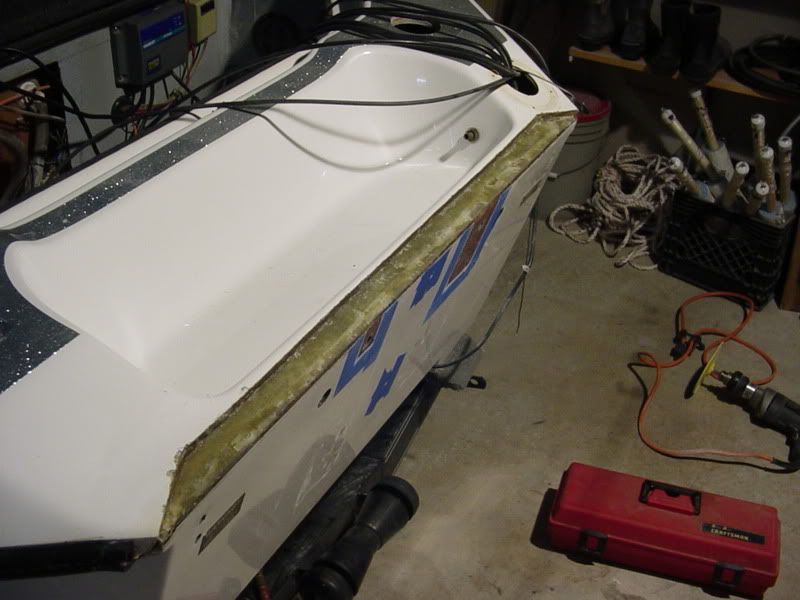
    Inside of transom, cleaned and prepped. You can see the two ends of the knee braces where they butt against the transom in the center of the pic.


    Looking down the inside of the transom from right to left.


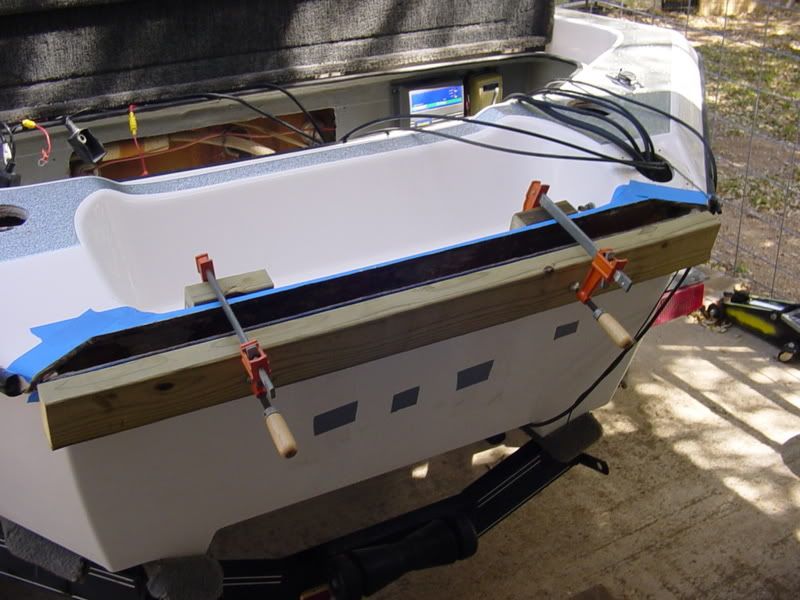
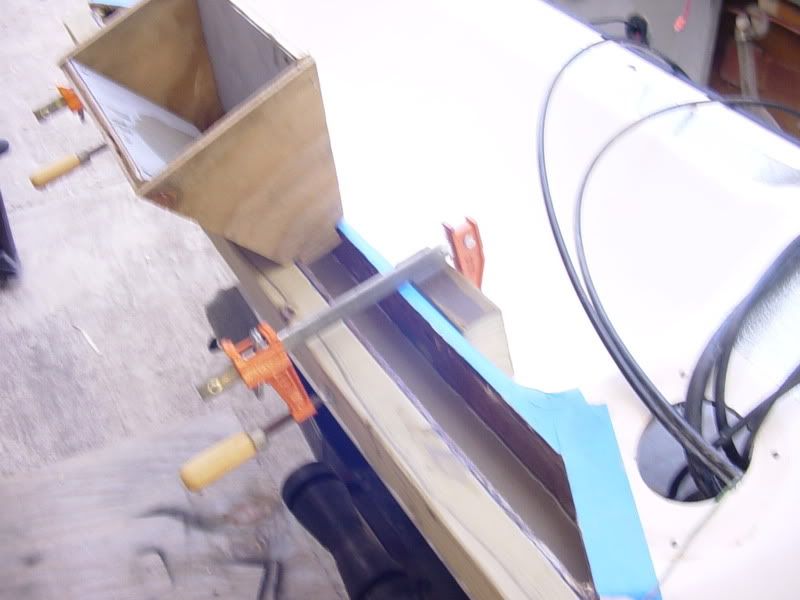
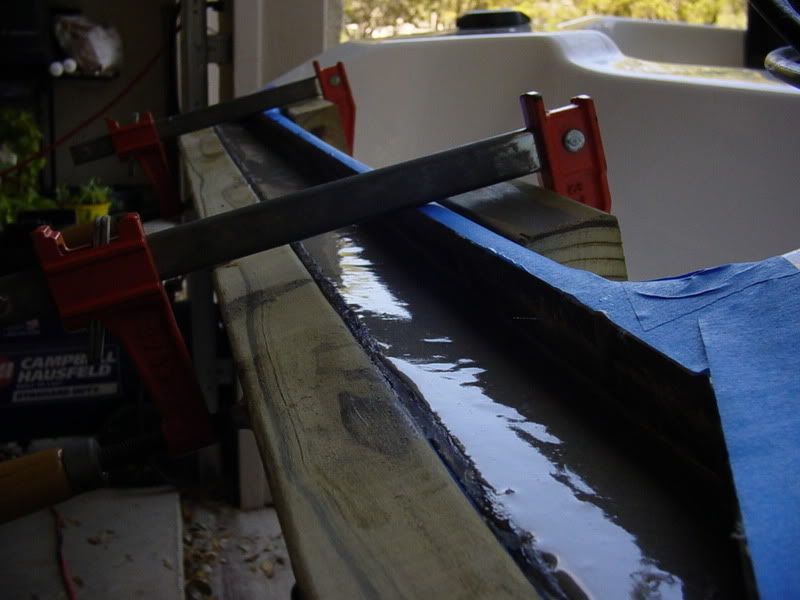
    Prepped and ready to pour. I probably didn't need the 2x4 bracing across the top, but it gave me piece of mind. Didn't want any bowing at the top.


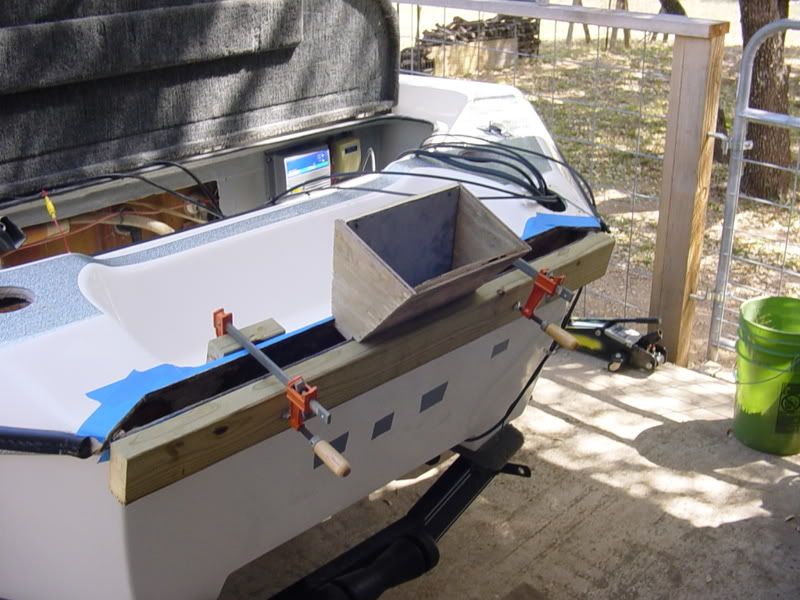
    I made a homemade funnel to help keep the mess to a minimum. Worked like a charm.


    I had a buddy come over the assist with the pour. We measured and layed everything out so that once we started we could work without interruption. Before we poured the Arjay, I mixed up some poly resin and used a small diameter paint roller to liberally apply it to the inside transom walls, sides, and bottom. Once it started to kick, we began our pour. The idea here was to try to enhance the chemical bond of the Arjay with the transom skins....not sure if it was needed but it sure didn't hurt. It took almost exactly 6 gallons, so we had to do it in two pours (5 gallon, then a 1 gallon).

    First pour complete:


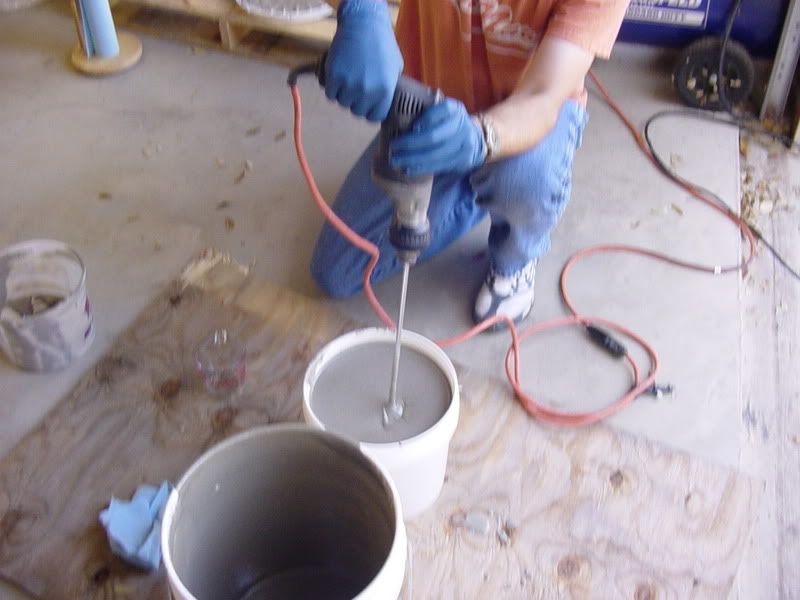
    Mixing up the second pour. This stuff poured like a dream. The plan was for my buddy to mix the last gallon while I was pouring. I finished pouring before he finished mixing!
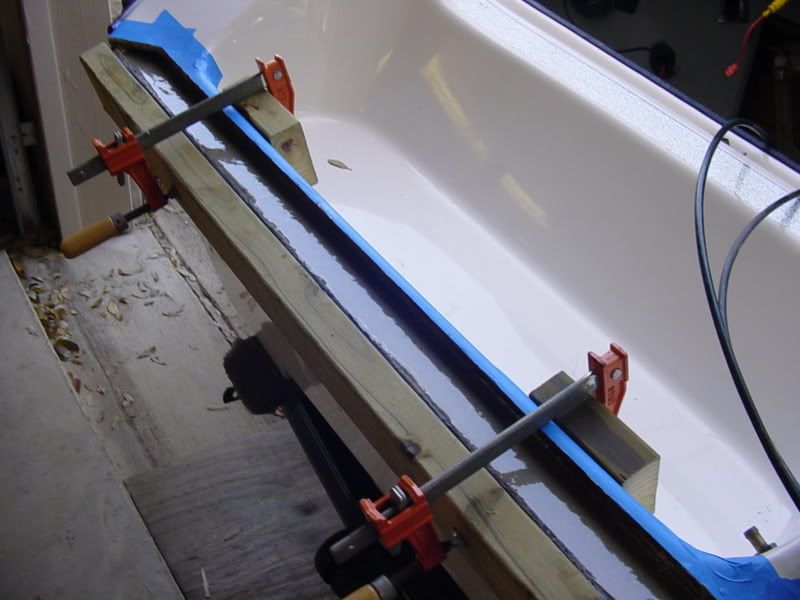

    Pour complete:


    From the time we started to the time I was finished cleaning up, I would estimate the pour took less than an hour. It went real smooth. The Arjay started to kick after about an hour and was set up like a rock later that evening. Transom is SOLID now!!

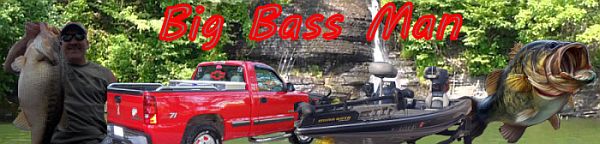
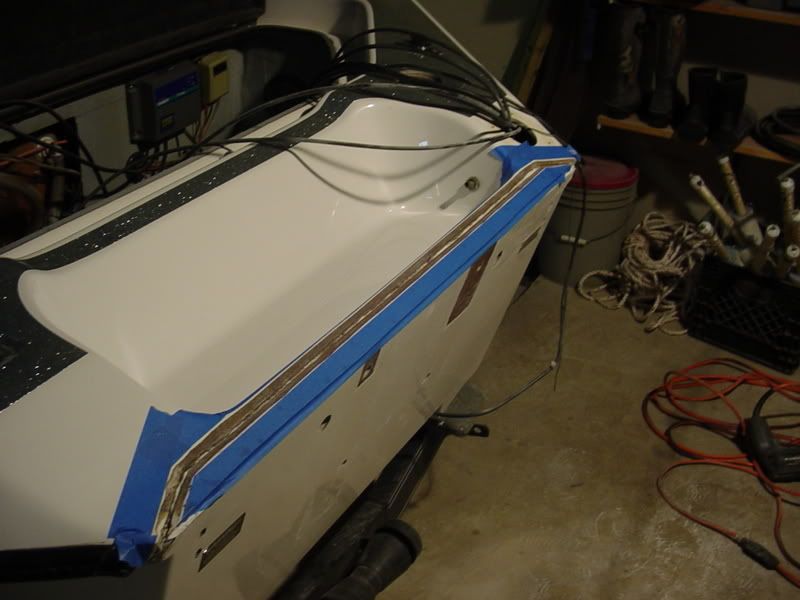
    The next step was to start making things look pretty again. The transom top cap on the Champ slopes down from the splashwell to the back of the boat. So I had to layer up some glass to match that slope in order for the piece of top cap to sit flush again. This also helped to cover/seal the transom core.


    With the glass layed, I used Marine Tex to kind of fair out the imperfections in my glass work and epoxy the top cap piece back into place. Probably could've used something else, but I had the Marine Tex and I like that it was waterproof.


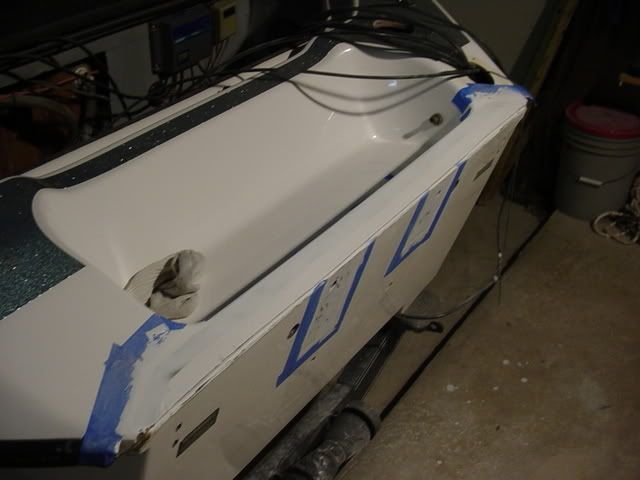
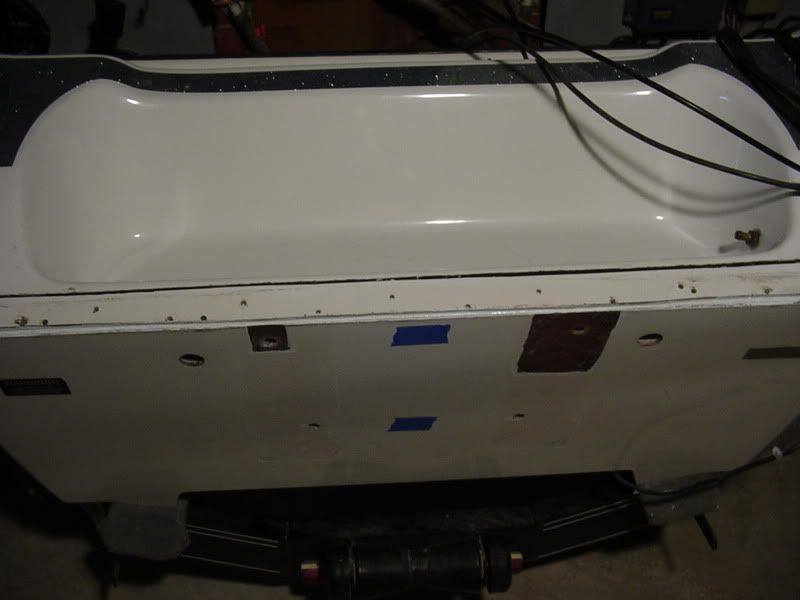
    Top cap back in place and bolt/splashwell drain holes re-drilled.


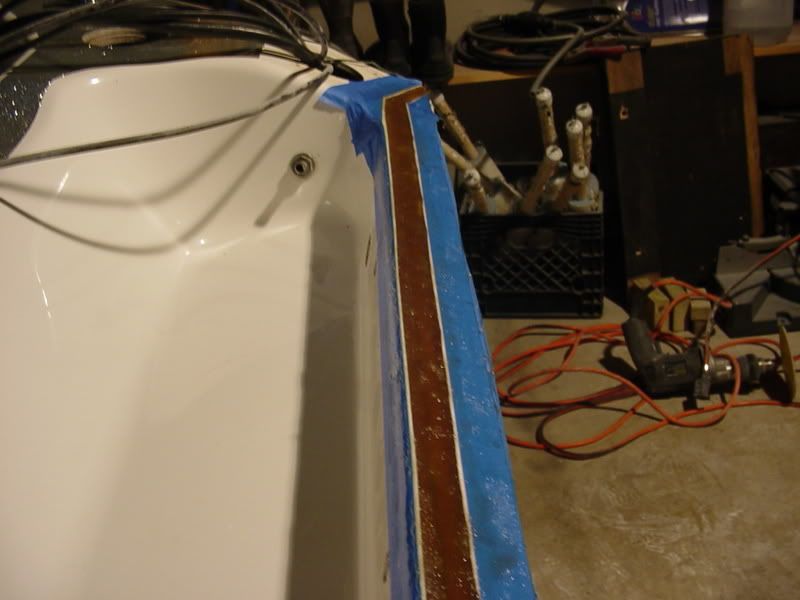
    Using my rotary tool, I beveled out the cut line to prep for the glass filler.


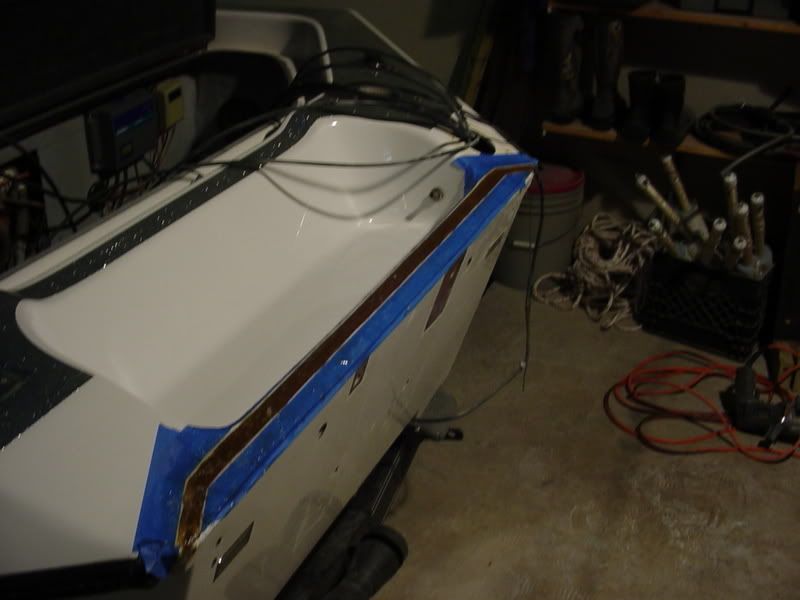
    I contemplated various fillers but after reading a post by Basscat7, opted to go with making my own out of resin and ground up glass mat. This worked pretty well and was actually pretty easy to work with.


    All that's left now is to sand the seam down smooth and lay down some gel. Hopefully get to that this weekend. Thanks to all on here who have given me suggestions or advice.....many of you have helped tremedously just by posting your experiences and projects.


    Modified by Marooned at 7:10 AM 3/17/2011

  2. Member Jwengerd's Avatar
    Join Date
    Sep 2009
    Location
    Howard,Ohio
    Posts
    1,226
    #2

    Re: Champion 181 Transom Replacement (Marooned)

    looks good

  3. Member
    Join Date
    May 2008
    Location
    Russellville, AR
    Posts
    214
    #3
    Thanks for the detailed over veiw! Looks like you did a great job on that. Congrats!

  4. Member foxman623's Avatar
    Join Date
    Feb 2010
    Location
    Trussville AL
    Posts
    3,832
    #4

    Re: Champion 181 Transom Replacement (Marooned)

    Good Looking job Marooned. Well Done

  5. Member
    Join Date
    Jan 2008
    Location
    Rockville
    Posts
    110
    #5
    Well done!

  6. Member
    Join Date
    Aug 2004
    Location
    SE WI
    Posts
    11,503
    #6

    Re: Champion 181 Transom Replacement (Marooned)

    Awesome job dude I'll give it to you guys who can do this type of work. I'm a pretty handy guy but I'd be afraid to attempt it. Looks like factory done
    2019 Ranger Z520C DC / 250 Pro XS 4 Stroke

  7. Member
    Join Date
    Feb 2005
    Location
    Spicewood
    Posts
    289
    #7

    Re: Champion 181 Transom Replacement (08 198 Champ)

    Thanks guys! I really appreciate all of the compliments. This is the first time I've ever attempted to do this kind of work, so it's been a real learning experience. But it's been kinda fun.

  8. #8

    Re: Champion 181 Transom Replacement (Marooned)

    I'm thinking about doing the same thing on my champ. Where did you order the arjay from ? Is it expensive ?

  9. Member
    Join Date
    Feb 2005
    Location
    Spicewood
    Posts
    289
    #9

    Re: Champion 181 Transom Replacement (BASSMAZZ4)

    Sent you an IM with information. You have to order the Arjay from one of their distributors. The Arjay itself isn't bad, it's the shipping that eats you alive!!

  10. Member Skeet'r89's Avatar
    Join Date
    Jun 2004
    Location
    North East, Top of the BAY, MD.
    Posts
    7,267
    #10

    Re: Champion 181 Transom Replacement (Marooned)

    Job looks GREAT !!!
    Larry Fitzgerald
    2024 Tracker V-175 /115 Merc
    2021 Silverado/ 4 Banger

  11. Member arjone01's Avatar
    Join Date
    Oct 2006
    Location
    Hopkinsville, KY
    Posts
    10,103
    #11

    Re: Champion 181 Transom Replacement (Marooned)

    Nice job man! Nice and clean!

  12. Hawg Catcher!! Big Bass Man's Avatar
    Join Date
    Feb 2006
    Location
    Tupelo, MS
    Posts
    33,610
    #12

    Re: Champion 181 Transom Replacement (Marooned)

    Nice job

  13. Member
    Join Date
    Jan 2011
    Location
    Clay,Ky.
    Posts
    5,461
    #13

    Re: Champion 181 Transom Replacement (Marooned)

    Awesome job, really clean, you did good.
    '97 ProCraft 180DC

  14. Member
    Join Date
    Feb 2005
    Location
    Spicewood
    Posts
    289
    #14

    Re: Champion 181 Transom Replacement (B.R.ONE)

    Got some more done last night and this afternoon.

    Sanded down the glass filled seam. Had to add a little more filler to catch some low spots. All nice and smooth.


    Next, I put down my first coat of gel. This is my first time every working with gel coat, so there is probably a better way of doing this but I brushed it on with a sponge brush. It flattens out nice but I had to sand out some uneven spots. You can still see the dark of the glass seam thru the gel, so tomorrow I will lay a second coat.


  15. Member
    Join Date
    Aug 2004
    Location
    Headland, AL
    Posts
    1,657
    #15

    Re: Champion 181 Transom Replacement (Marooned)

    You've done a great job. Very clean.
    1999 Champion 203
    2000 Yamaha OX66 225

  16. Member
    Join Date
    Jan 2010
    Location
    Thunder Bay
    Posts
    350
    #16

    Re: Champion 181 Transom Replacement (Marooned)

    Good work right there!!


    [i]LAND OF THE SLEEPING GIANT

  17. Member
    Join Date
    Jun 2010
    Location
    Franklin
    Posts
    74
    #17

    Re: Champion 181 Transom Replacement (bassdad)

    Good job!!! Looks great. Have you had it out yet?

  18. Member
    Join Date
    Feb 2005
    Location
    Spicewood
    Posts
    289
    #18

    Re: Champion 181 Transom Replacement (aikdog84)

    Thanks. No, haven't gotten it all put back together yet. Hopefully within the next week or so it'll be ready to see the water.

  19. Blanco Basura Alan S's Avatar
    Join Date
    Feb 2005
    Location
    South Central LA.
    Posts
    33,211
    #19

    Re: Champion 181 Transom Replacement (Marooned)

    Great job!!
    Alan
    __________________________________________________ _________
    Free men are not equal. Equal men are not free.

  20. Member
    Join Date
    Jan 2009
    Location
    Riverside
    Posts
    133
    #20

    Re: Champion 181 Transom Replacement (Marooned)

    Nice job!!! You make it look easy.


    1982 Ranger 370V
    150 Mercury Black Max

Page 1 of 3 123 LastLast

Similar Threads

  1. 181 Transom replacement
    By Marooned in forum Champion Boats
    Replies: 70
    Last Post: 09-25-2020, 01:15 PM
  2. Transom replacement
    By Sandman38 in forum Bassboat Restoration
    Replies: 2
    Last Post: 08-09-2011, 04:28 PM
  3. Replacement Transom Saver
    By shominiy in forum Skeeter Boats
    Replies: 1
    Last Post: 04-14-2009, 04:24 PM
  4. Skeeter Transom Replacement - Attaching the Transom
    By pamlicopanther in forum Bassboat Restoration
    Replies: 11
    Last Post: 01-10-2008, 07:06 AM
  5. Transom board replacement ??????????
    By Dixon-Dan in forum Bassboat Restoration
    Replies: 5
    Last Post: 06-20-2007, 11:34 AM