Some of you will remember that back in early February I discovered that the transom on my 1995 181 was wet, soft, and rotting. Here is the original thread: http://www.bbcboards.net/zerothread?id=638872
After a lot of research and deliberation, I decided to go with the Arjay 6011 transom compound. The way that the transom is on my Champ, I could access the entire width of the transom without cutting out a mass section of the top cap. So, using a drill with a couple of 12" extensions and various drill bits, my chainsaw (yep, I used the chainsaw), and some homemade scraping tools, I was able to remove all of the old wood. I fitted my shop vac with a long piece of 3/4" pvc to allow me to reach the bottom of the transom and suck out all of the debris as it was loosened up. Fortunately the rot didn't go down past about the middle of the transom, so my knee braces and stringers were fine.
After the wood was removed, I used a 1.5" drum sanding attachment on the drill to clean the inner and outer skins. The inner skin was very thin in places, so I layed up a couple of layers of glass mat and cloth to reinforce the inner skin, with some extra reinforcement where the bolt holes would go. (Sorry, I didn't take any pics of the inner skin glass work.) Next, I placed small pieces of glass mat on the inside of the transom to cover all of the bolt holes and splashwell drain holes that I could reach from the top. The lower bolt holes were just covered with commercial grade duct tape. Probably could've gotten away with just duct tape on all of the holes, but I didn't want any leakeage during the pour! With all of the prep work done, we were ready to pour.
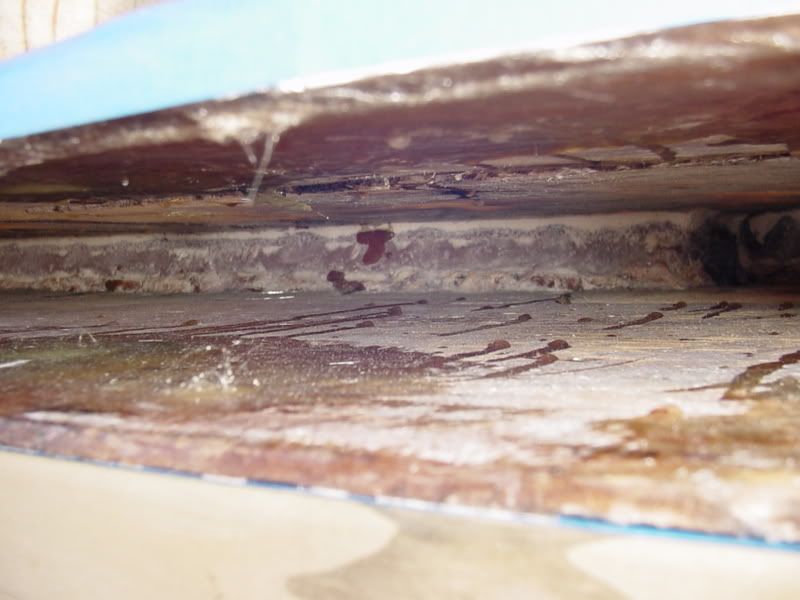
Inside of transom, cleaned and prepped. You can see the two ends of the knee braces where they butt against the transom in the center of the pic.
Looking down the inside of the transom from right to left.
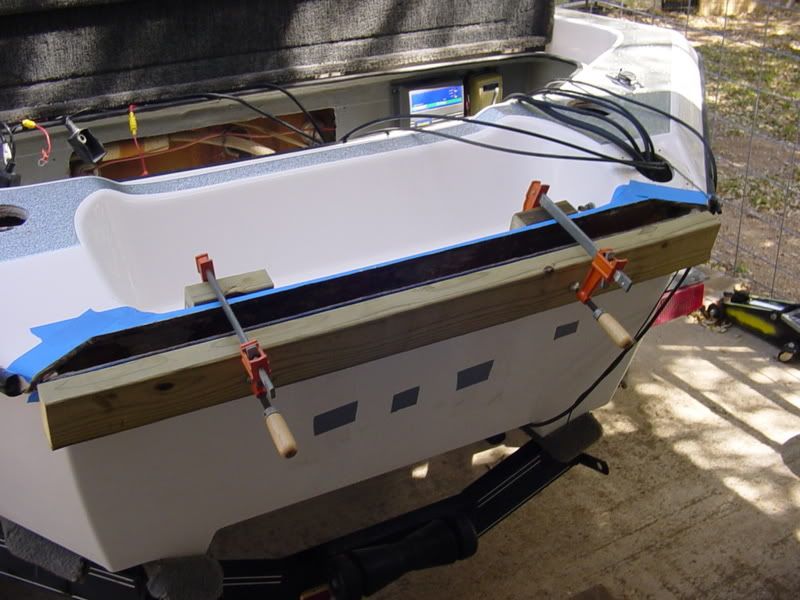
Prepped and ready to pour. I probably didn't need the 2x4 bracing across the top, but it gave me piece of mind. Didn't want any bowing at the top.
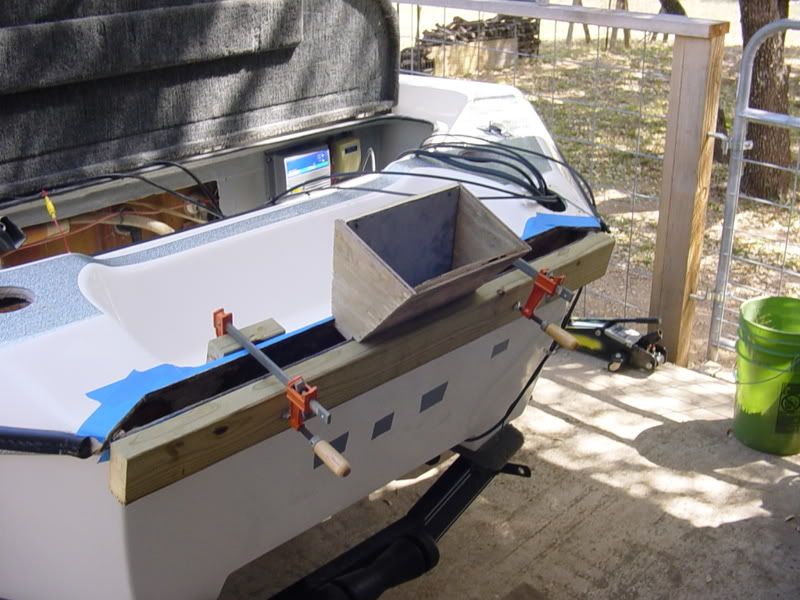
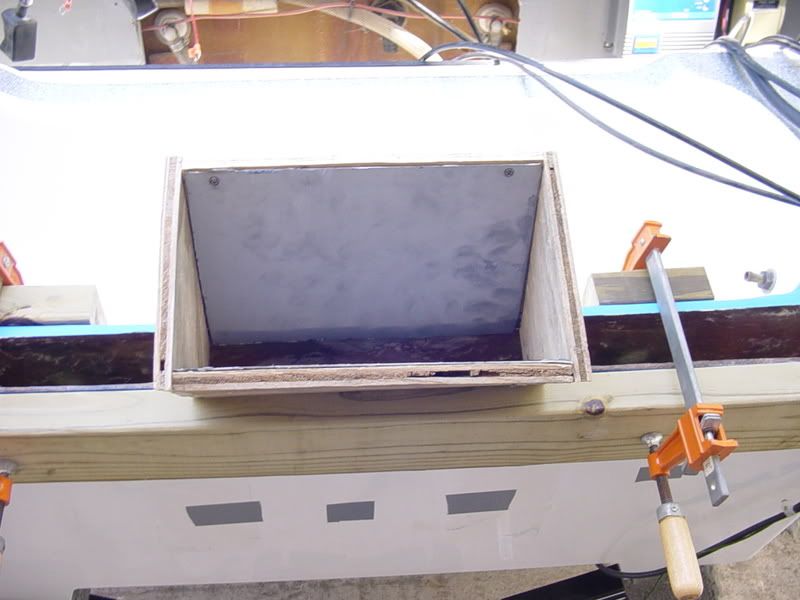
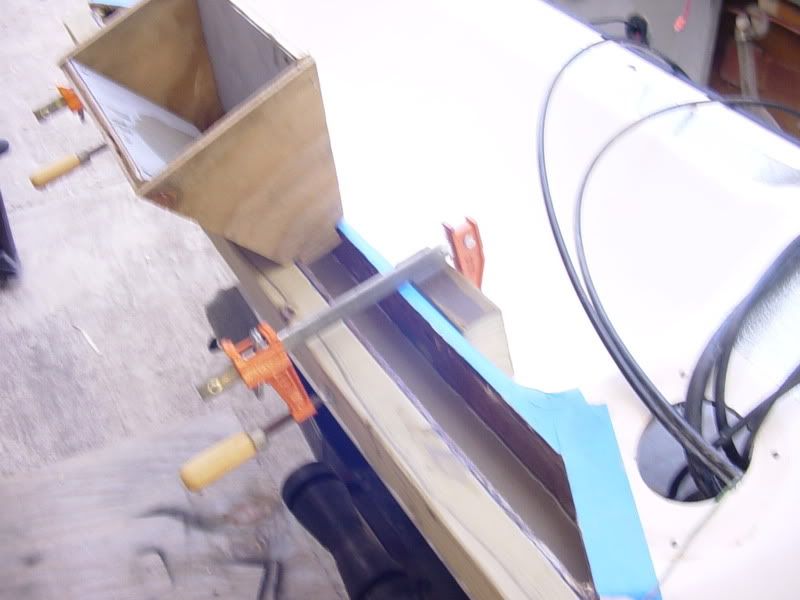
I made a homemade funnel to help keep the mess to a minimum. Worked like a charm.
I had a buddy come over the assist with the pour. We measured and layed everything out so that once we started we could work without interruption. Before we poured the Arjay, I mixed up some poly resin and used a small diameter paint roller to liberally apply it to the inside transom walls, sides, and bottom. Once it started to kick, we began our pour. The idea here was to try to enhance the chemical bond of the Arjay with the transom skins....not sure if it was needed but it sure didn't hurt. It took almost exactly 6 gallons, so we had to do it in two pours (5 gallon, then a 1 gallon).
First pour complete:
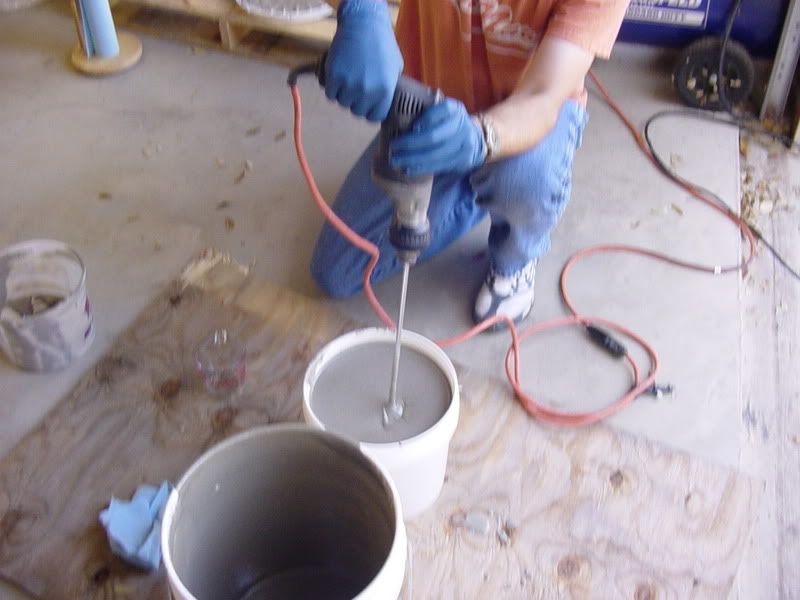
Mixing up the second pour. This stuff poured like a dream. The plan was for my buddy to mix the last gallon while I was pouring. I finished pouring before he finished mixing!
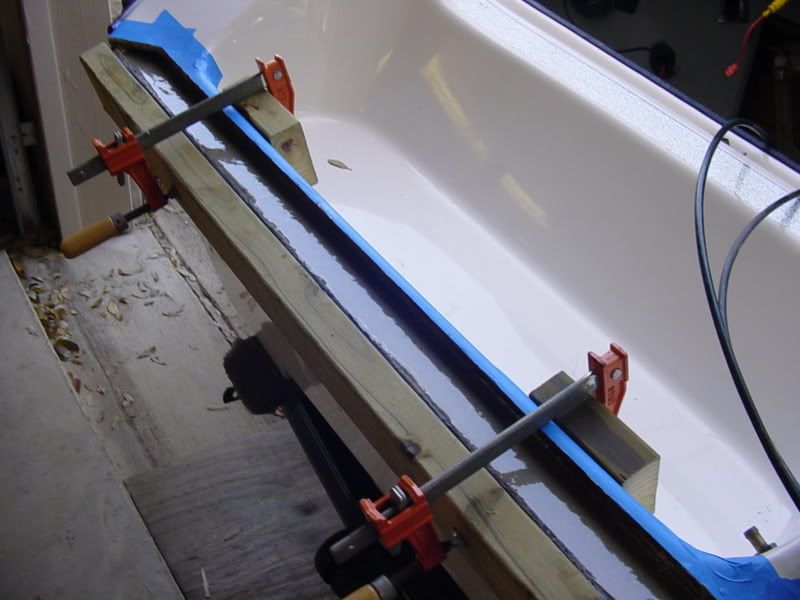
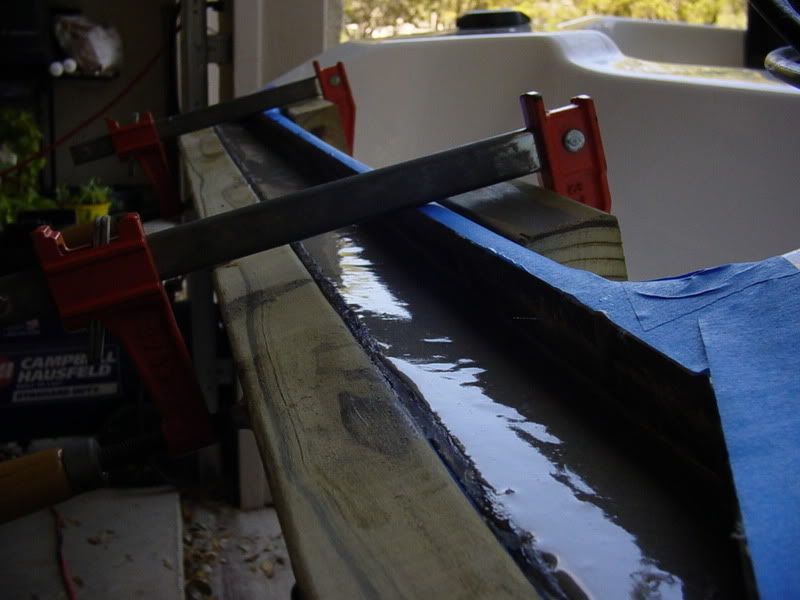
Pour complete:
From the time we started to the time I was finished cleaning up, I would estimate the pour took less than an hour. It went real smooth. The Arjay started to kick after about an hour and was set up like a rock later that evening. Transom is SOLID now!!
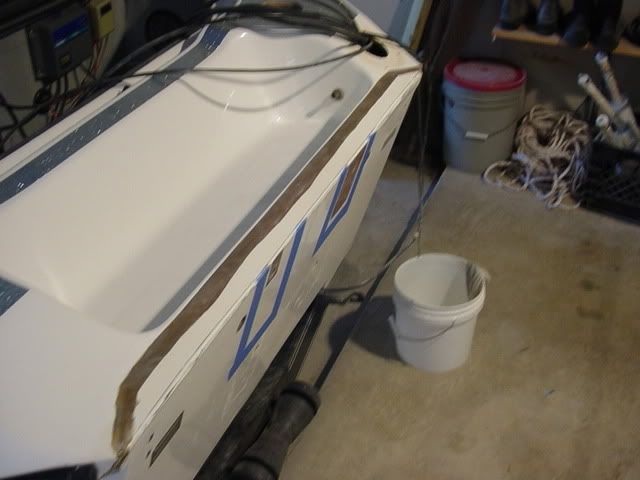
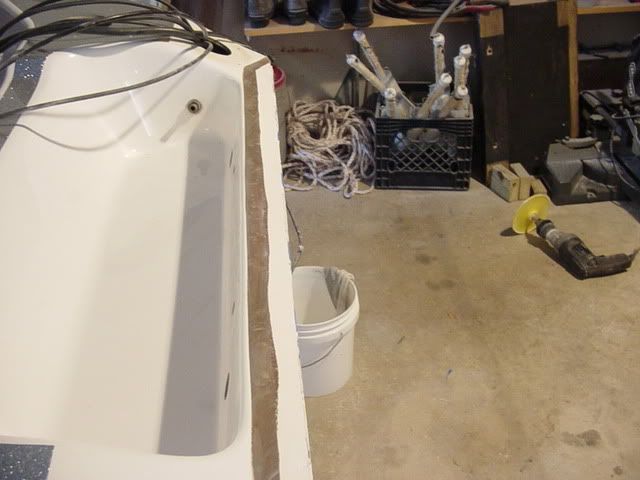
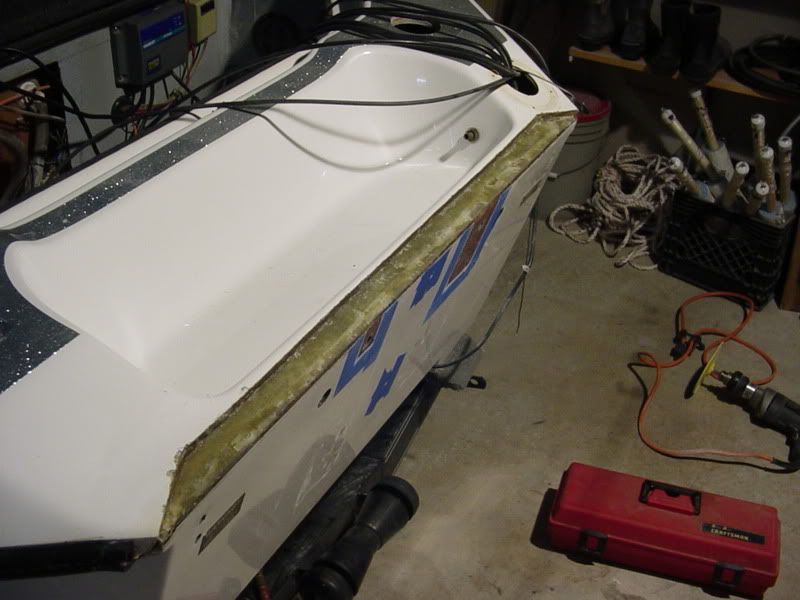
The next step was to start making things look pretty again. The transom top cap on the Champ slopes down from the splashwell to the back of the boat. So I had to layer up some glass to match that slope in order for the piece of top cap to sit flush again. This also helped to cover/seal the transom core.
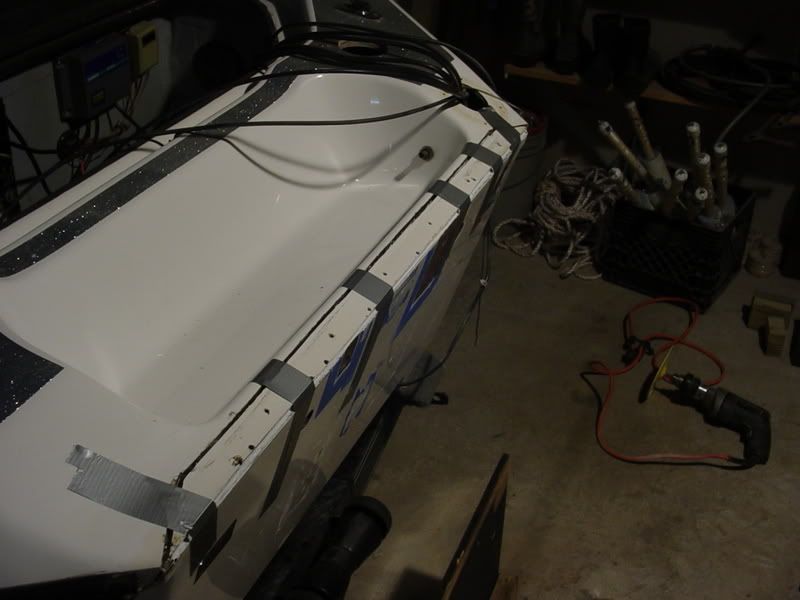
With the glass layed, I used Marine Tex to kind of fair out the imperfections in my glass work and epoxy the top cap piece back into place. Probably could've used something else, but I had the Marine Tex and I like that it was waterproof.
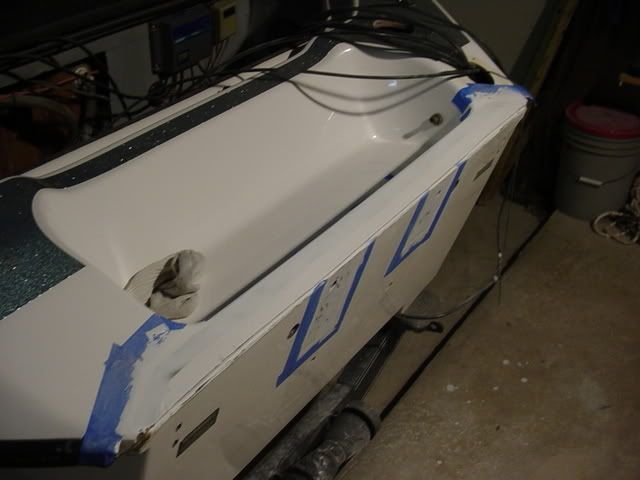
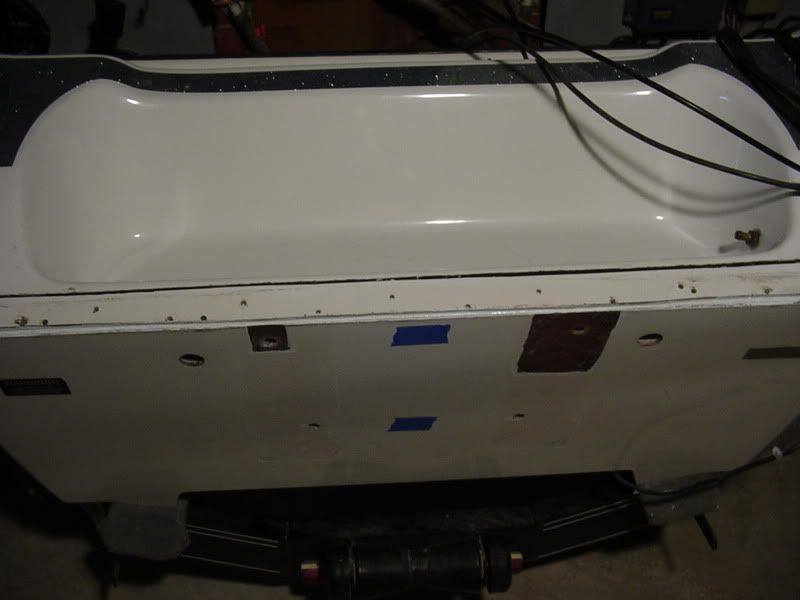
Top cap back in place and bolt/splashwell drain holes re-drilled.
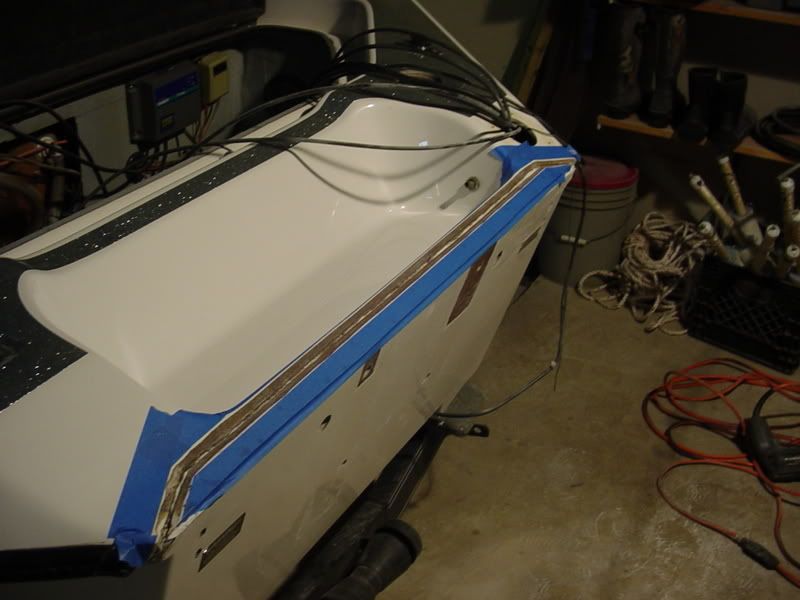
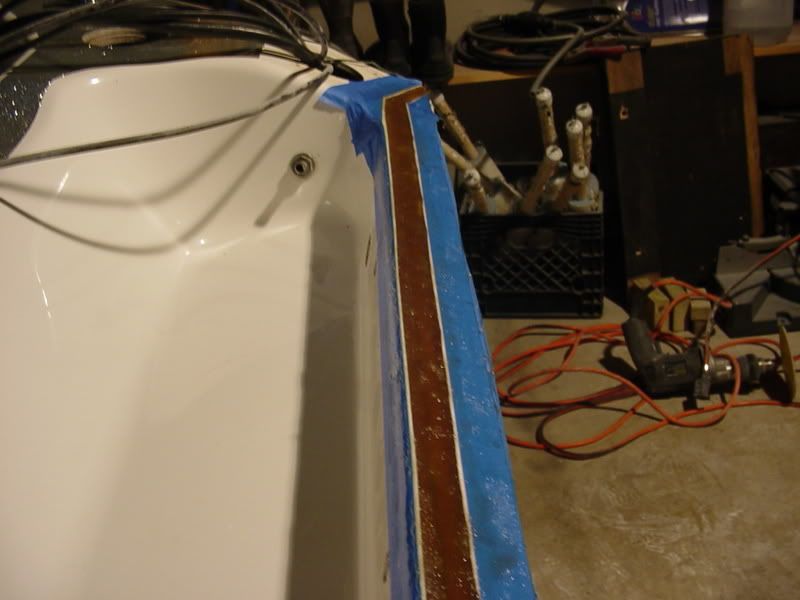
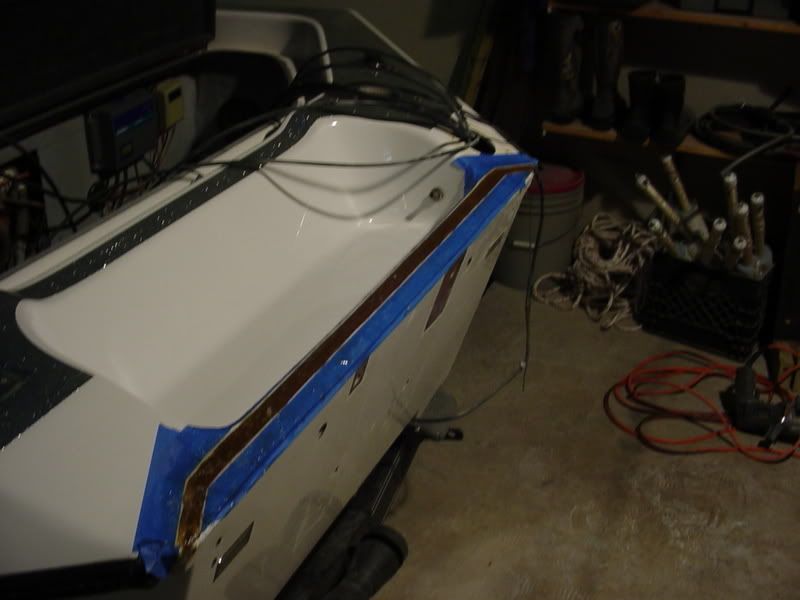
Using my rotary tool, I beveled out the cut line to prep for the glass filler.
I contemplated various fillers but after reading a post by Basscat7, opted to go with making my own out of resin and ground up glass mat. This worked pretty well and was actually pretty easy to work with.
All that's left now is to sand the seam down smooth and lay down some gel. Hopefully get to that this weekend. Thanks to all on here who have given me suggestions or advice.....many of you have helped tremedously just by posting your experiences and projects.
Modified by Marooned at 7:10 AM 3/17/2011



 Reply With Quote


