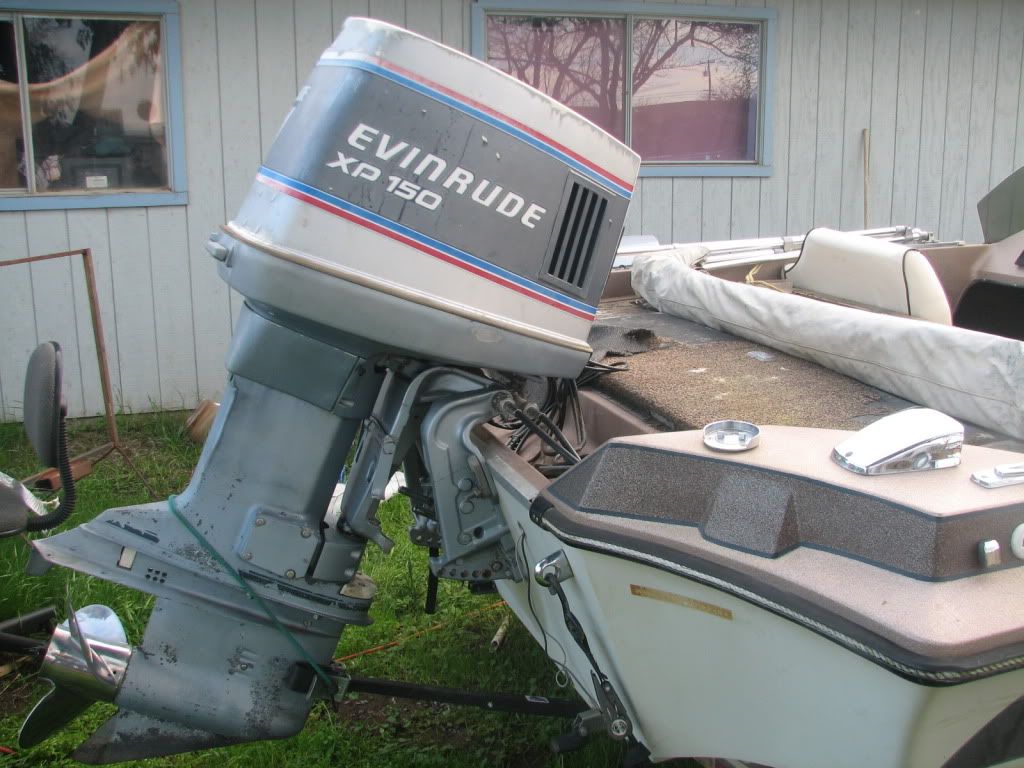
No pics yet but should have them soon. My wifes uncle blew the motor up on this boat and decided not to fix it. He told me if I wanted it, I just had to come and get it. He lives in Vegas and I live in Northern CA. Well, I let the boat sit for 5 years then decided to go take a look. Needless to say, the Vegas sun did me no favors but I believe I can fix her up. The motor that was on the boat is a 1985 Evinrude XP 150hp. I just happened to find another 1985 Evinrude XP (removed from a houseboat) that has 95-98 lbs compression on every cylinder and looked super clean. The boat is currently in the shop having that motor mounted. I also happen to work for a company that has an onsite upholstery person who is doing all the seats for me for the cost of the material.
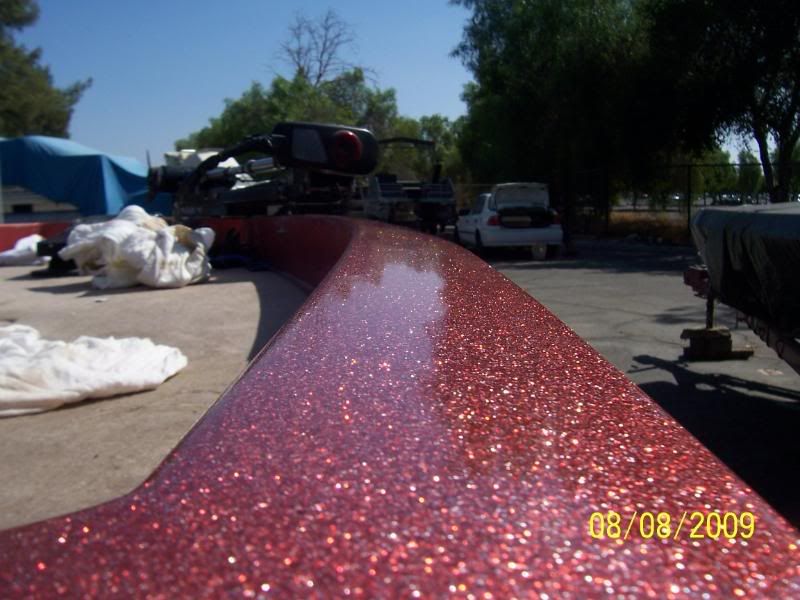
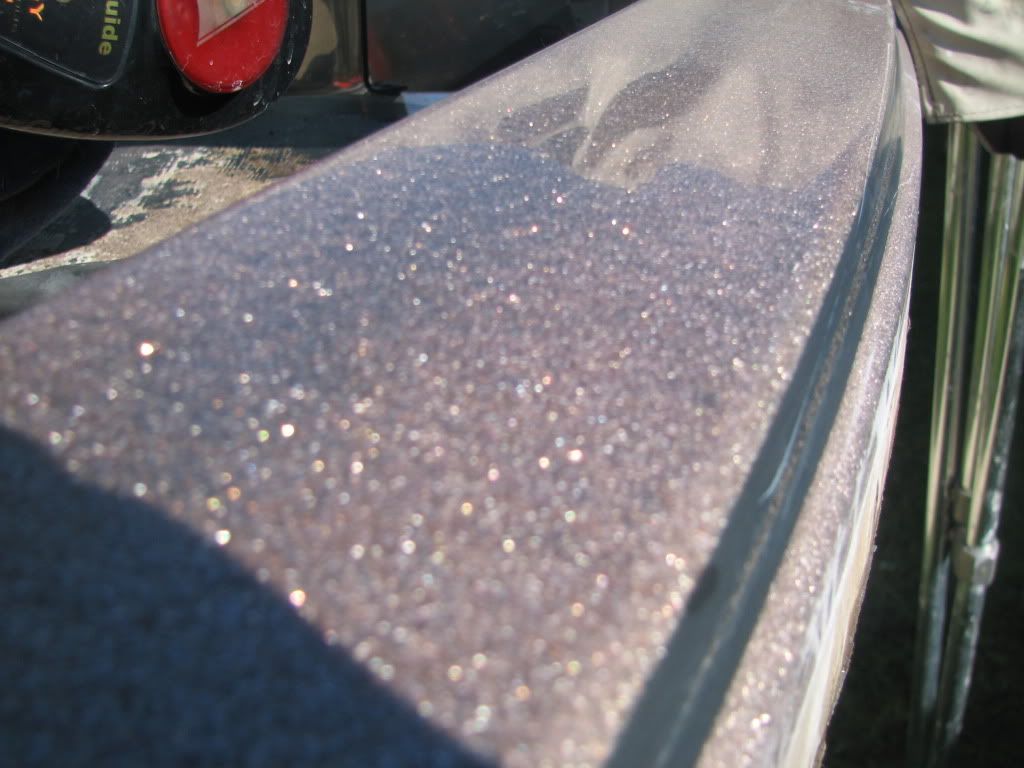
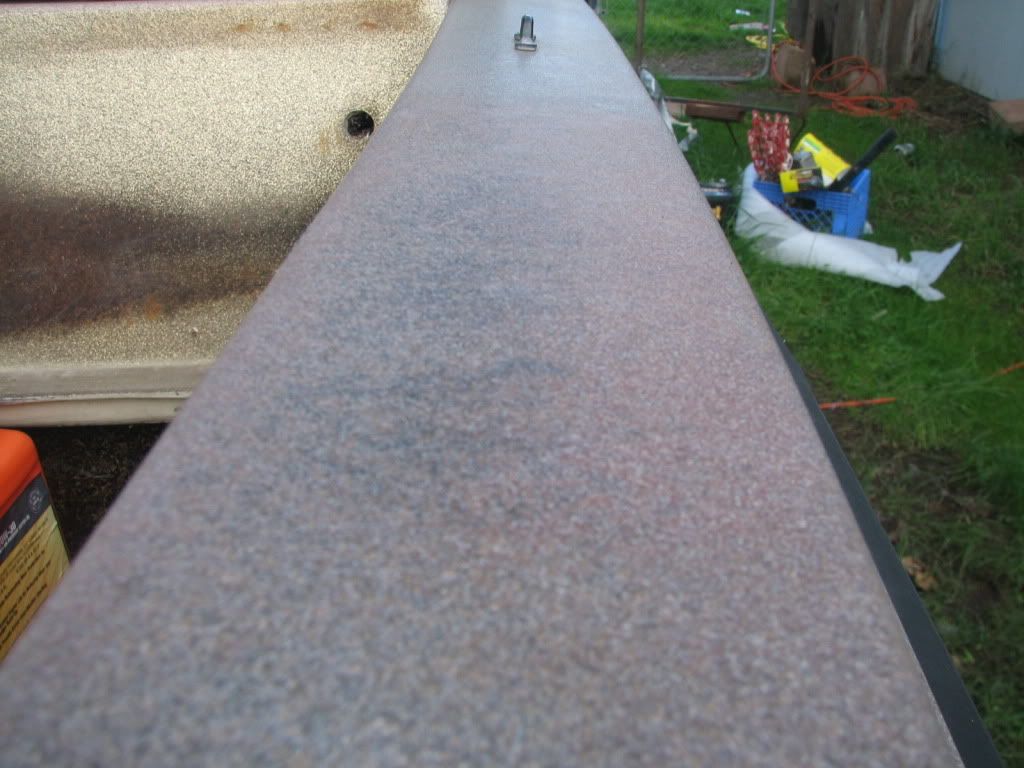
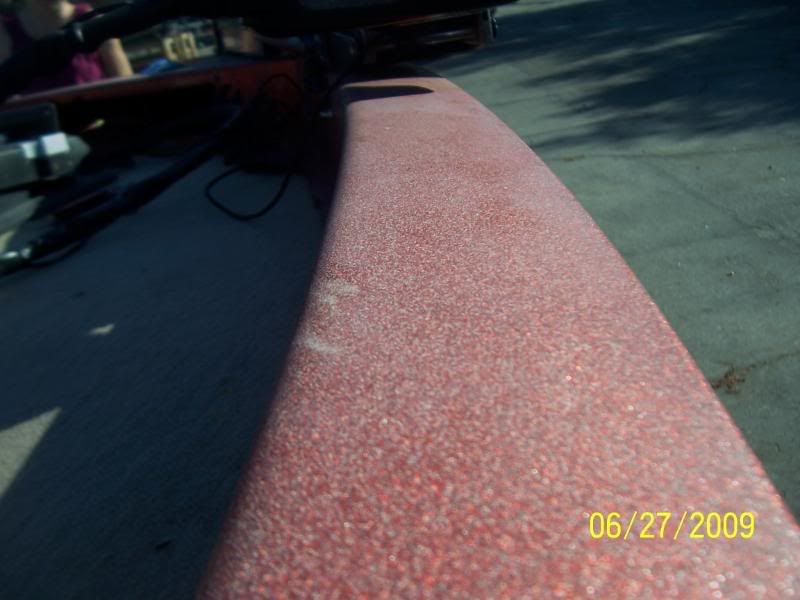
I will get pictures up as soon as I can cause I am really concerned about the top cap and gel coat on it. The top cap is dark brown with a gold metal flake. I am pretty sure I can wetsand it down but not sure. If I put the hose on it and get it wet it shines nice until it dries. However, the cap feels like 100 grit sandpaper.
I know I have a few long weekends ahead of me but we shines and turns heads at the age 35, I will feel proud to ride her
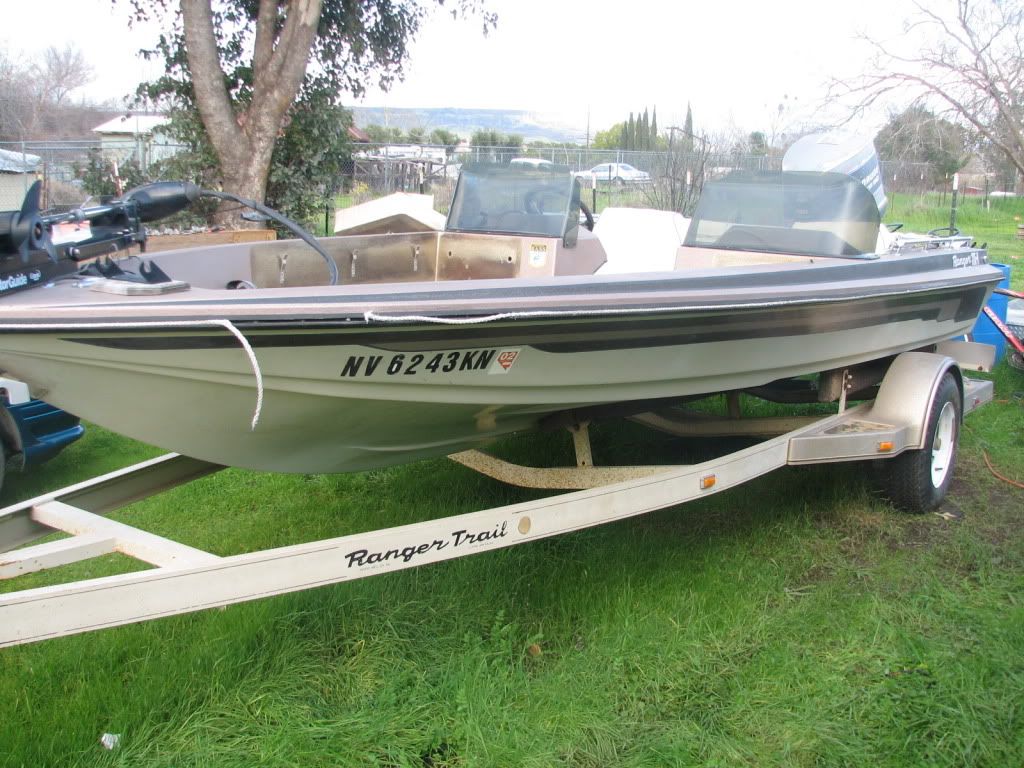
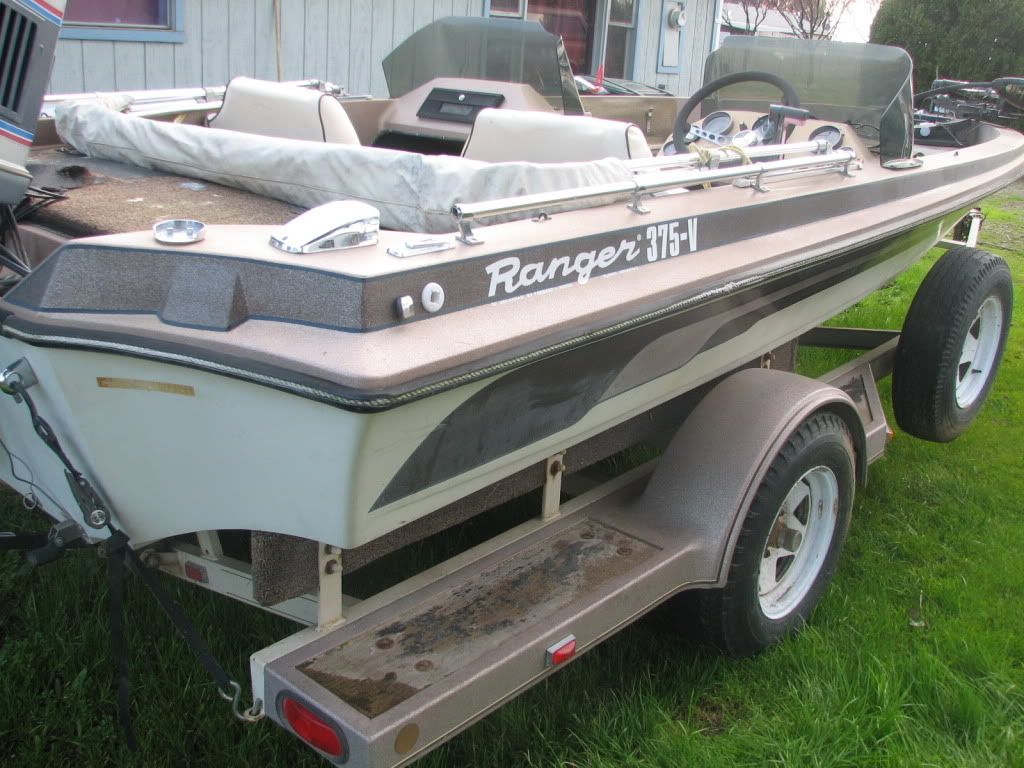
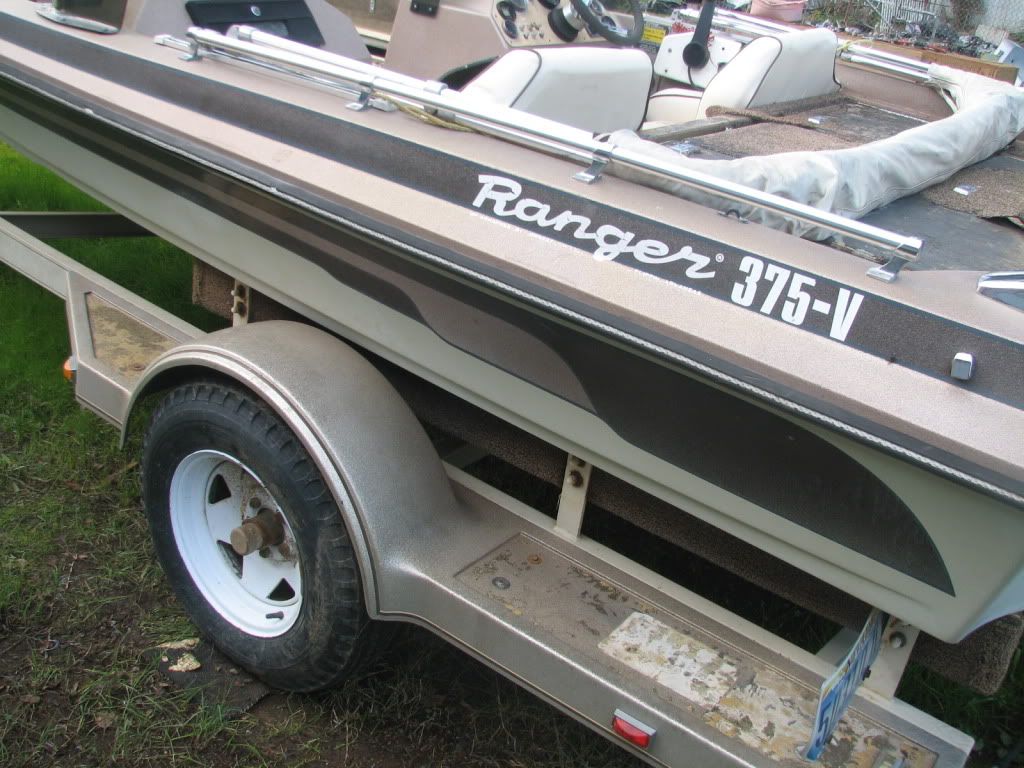
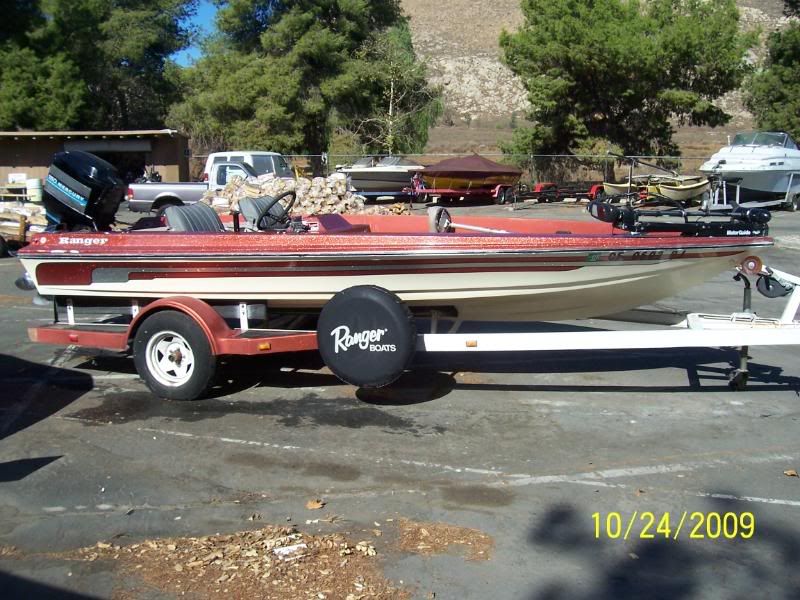
Here are a few General pictures of the baot
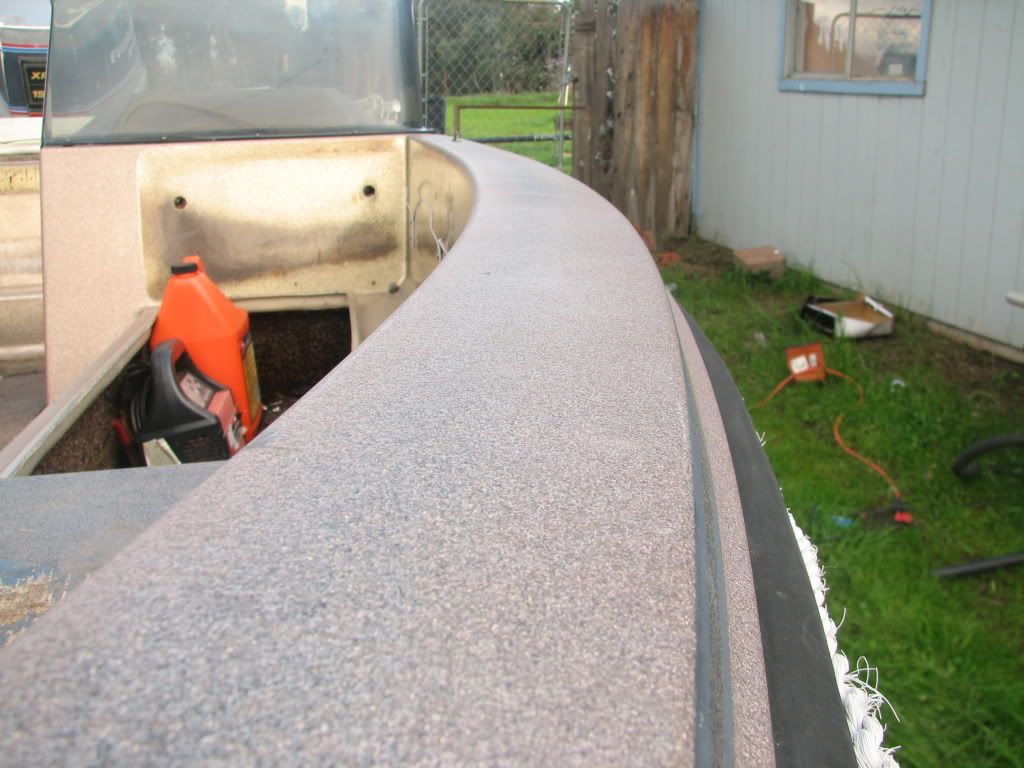
Here is a Picture of the Top Cap, look closely at the discoloration. How can I fix this, any ideas?
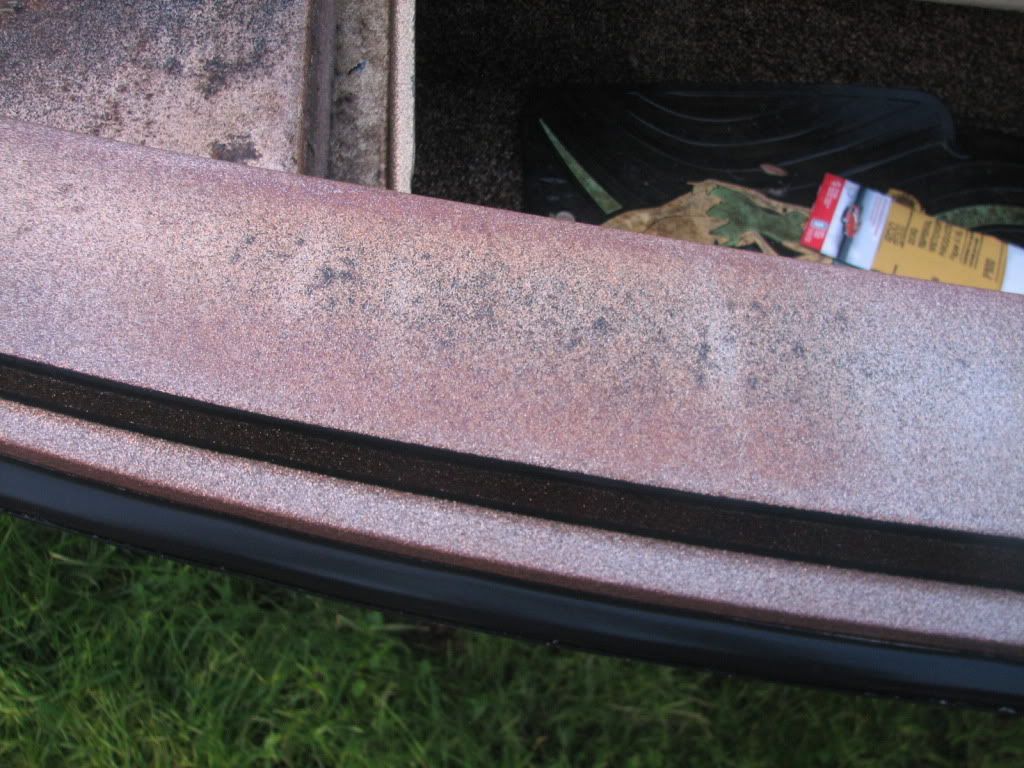
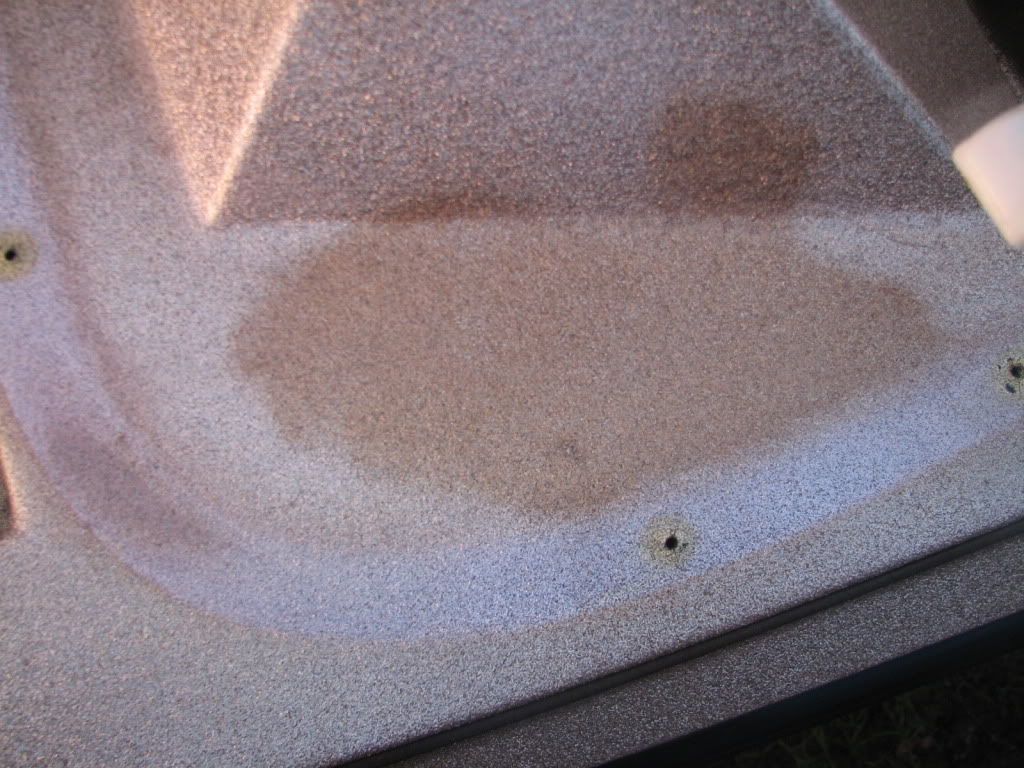
Some more discoloration around the passenger side console
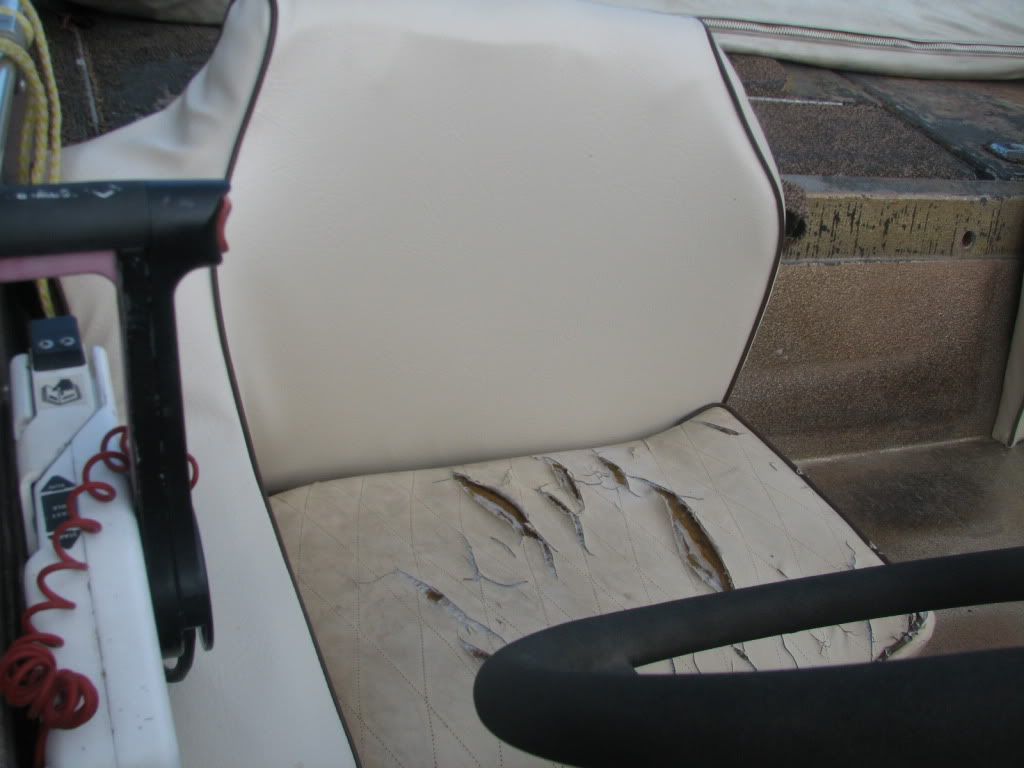
Here is a Picture of the the seats, the back has already been re-covered and the bottom is actually a pretty good looking seat compared to a few of the others in the boat that are being redone by a friend.
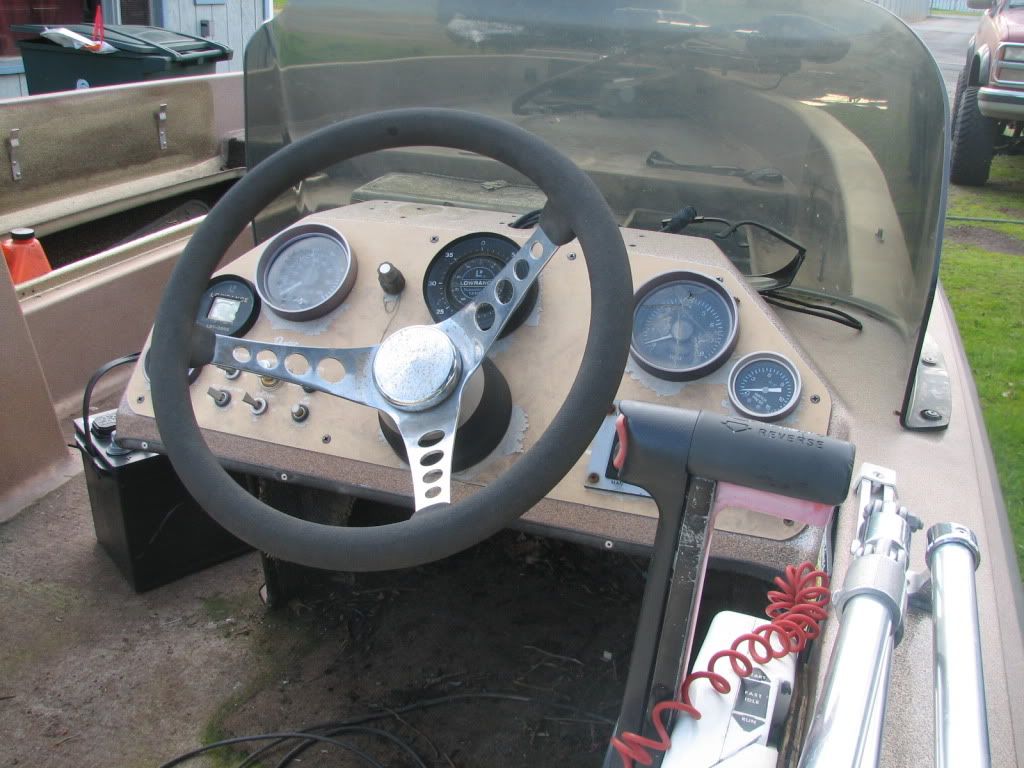
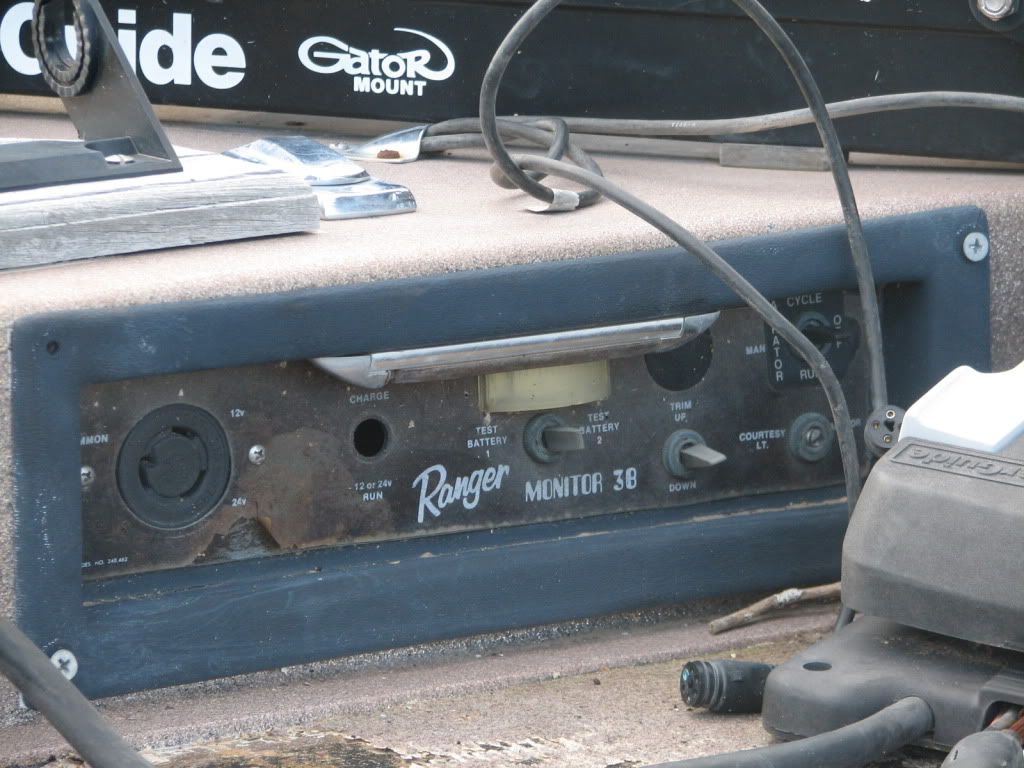
Front control panel
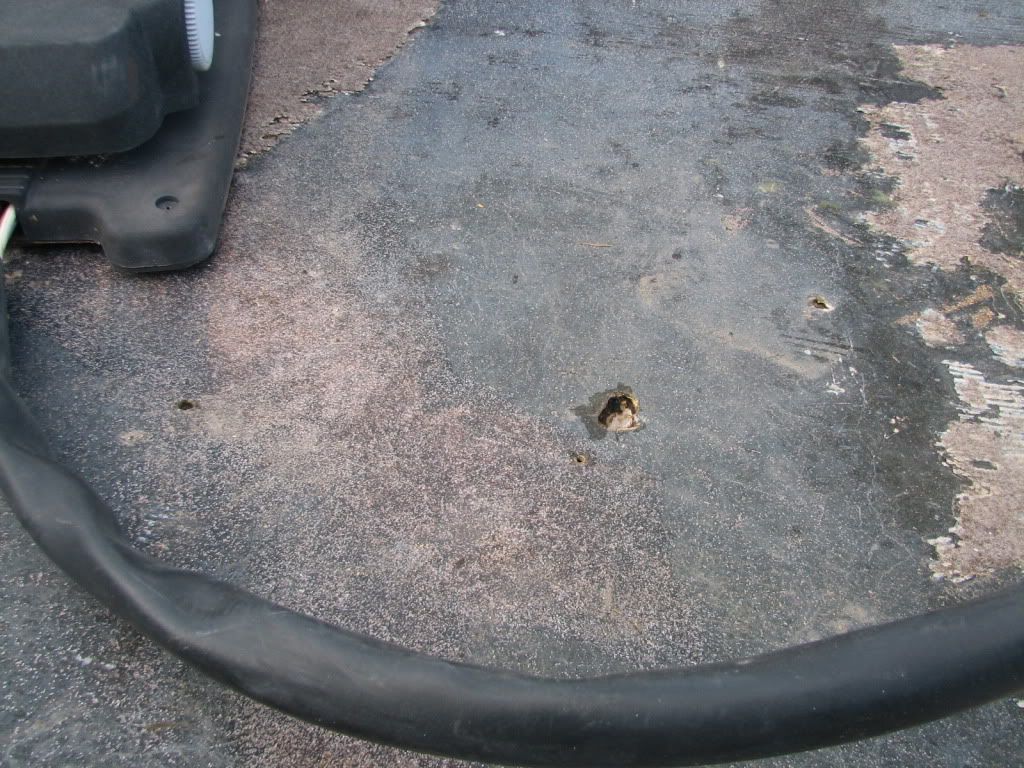
Small hole I need to JB Weld on the front deck
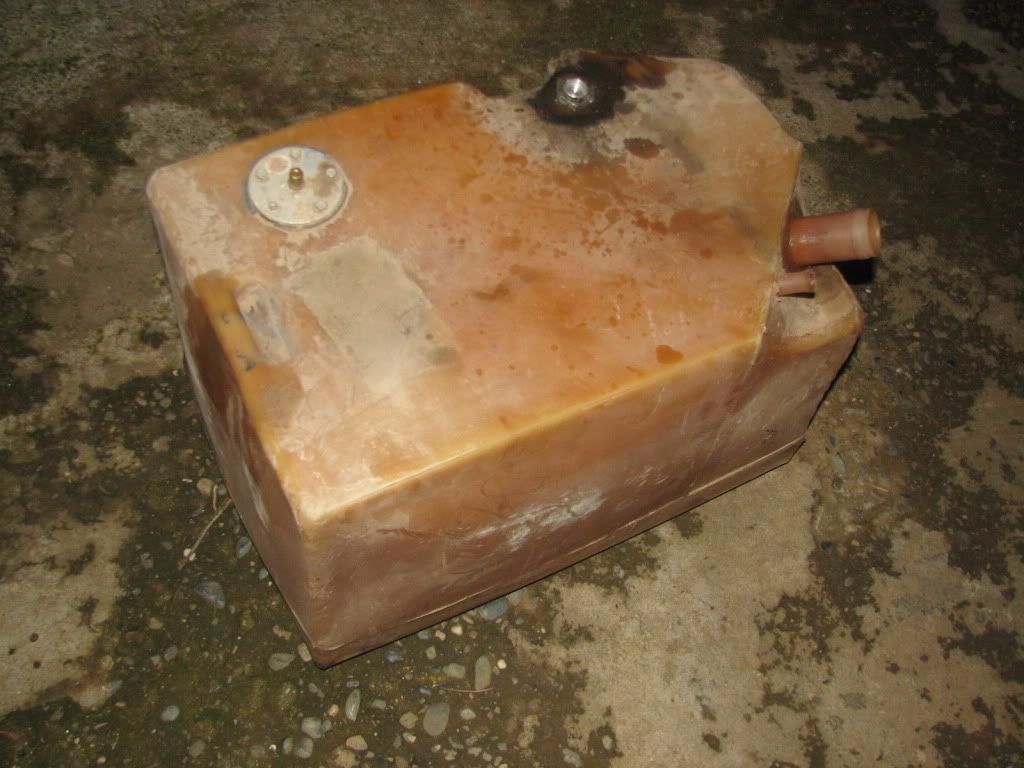
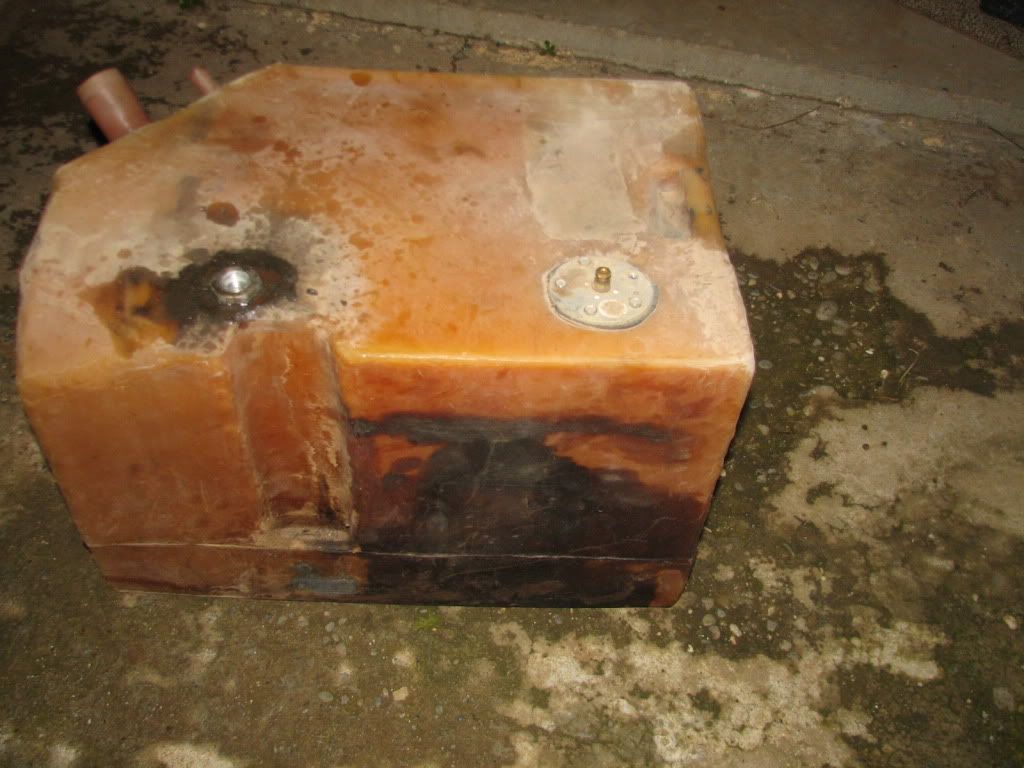
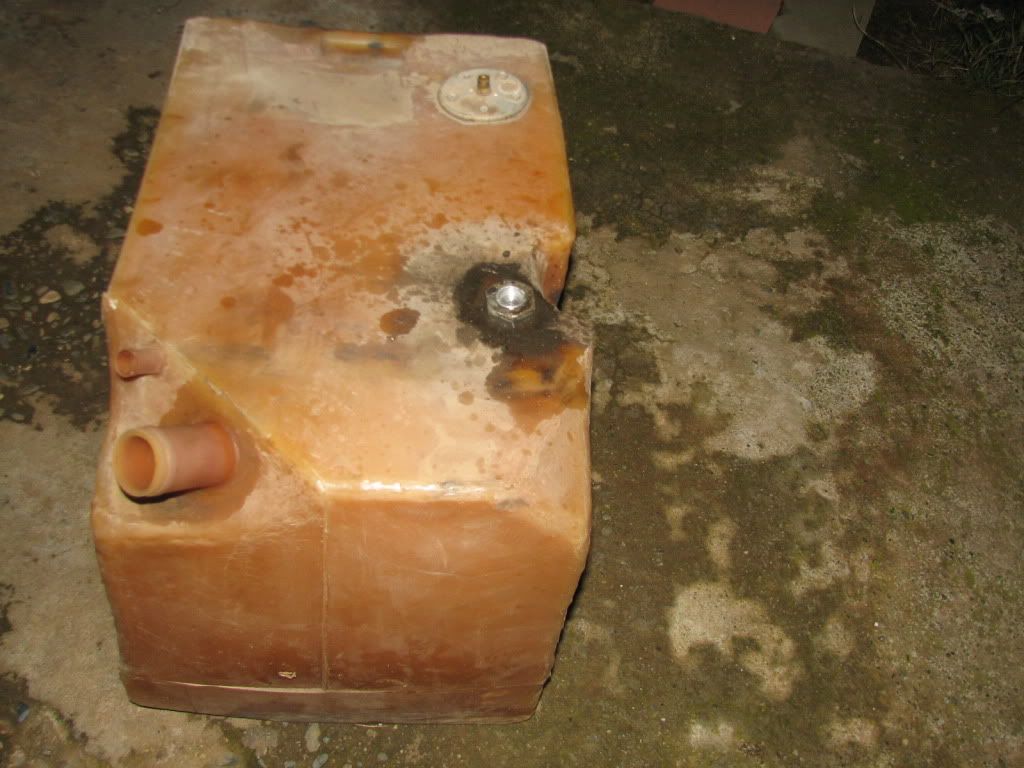
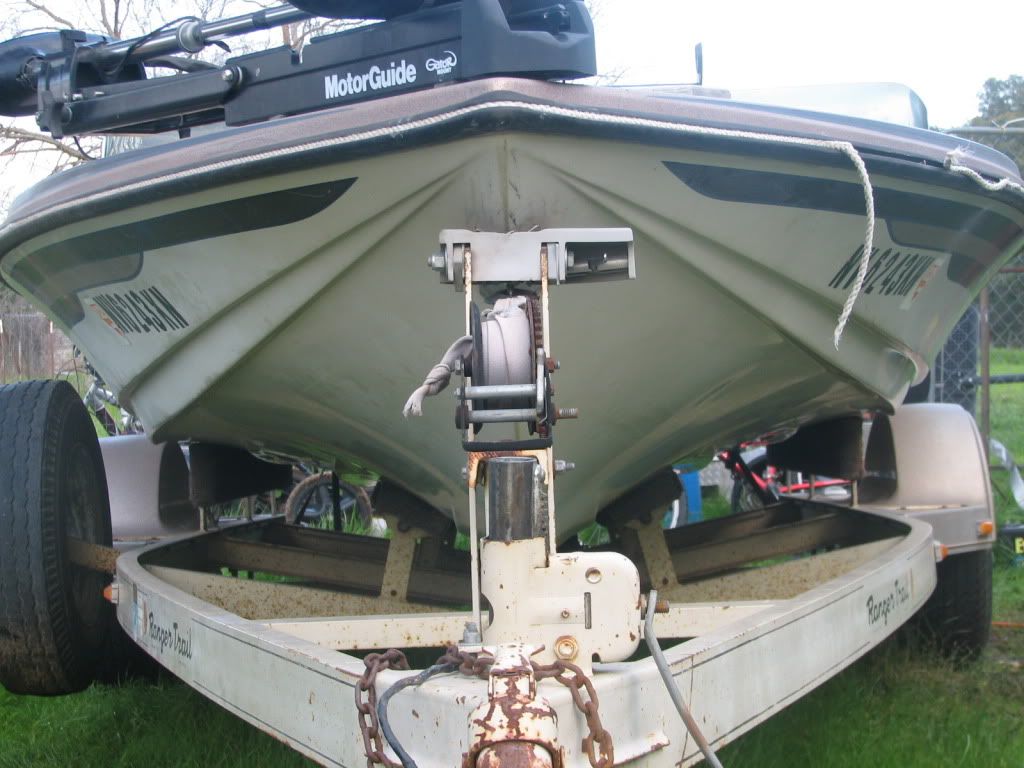
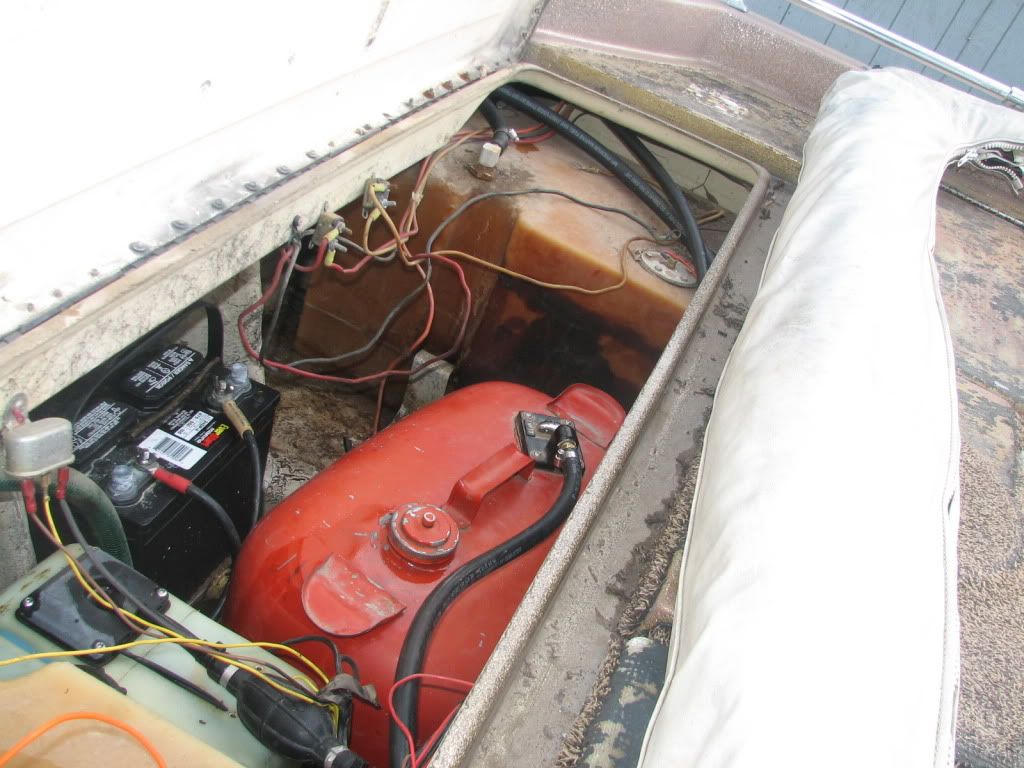
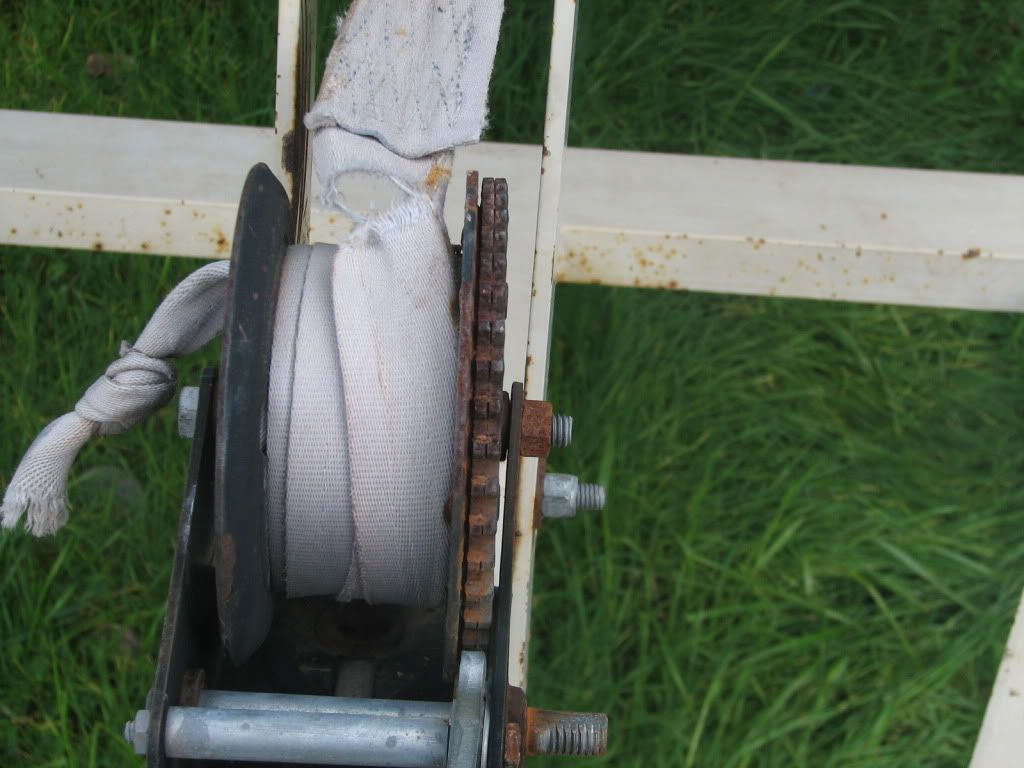
A few more random pics
Modified by Durby at 6:16 PM 2/20/2011


 Reply With Quote
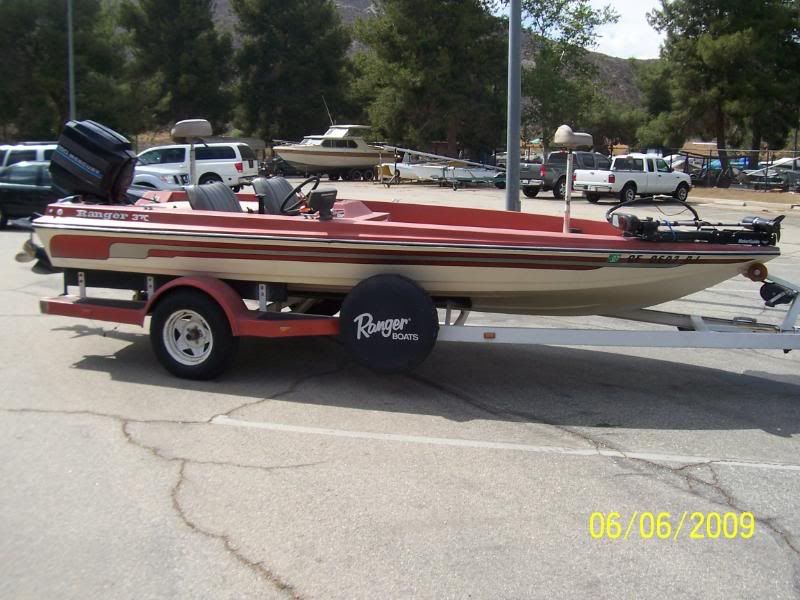
 .
.